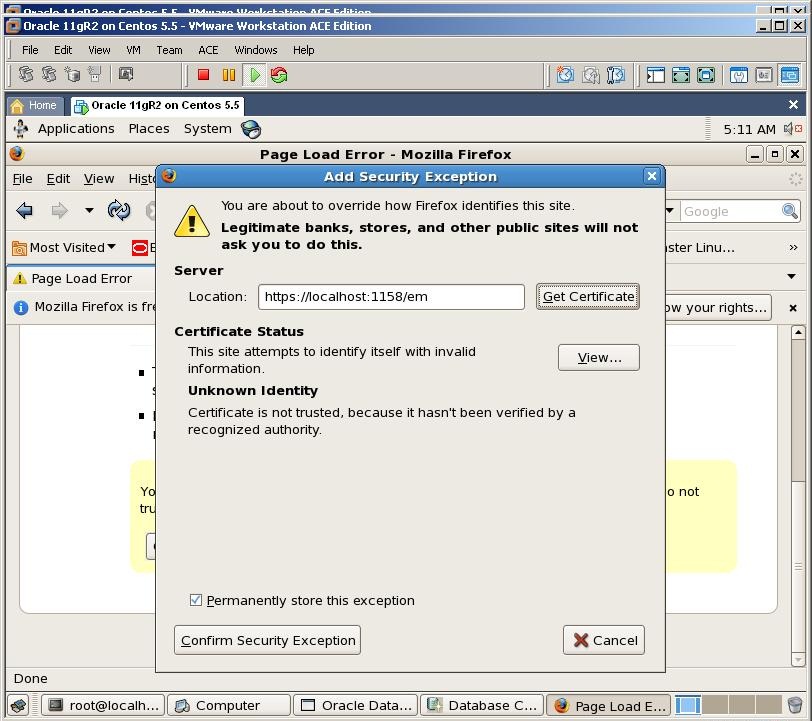
In this step by step tutorial I’m going to show you the installation of Oracle 11gR2 on OEL 5.5
As in every my step by step and video tutorials, I use VMware virtual machine, so here also I start with creating a virtual machine
P.S. Actually I was preparing this tutorial for CentOS, but somehow mixed .iso images So the name of the virtual machine appears as “CentOS” but the installation is made on OEL. However, you can try the same tutorial for CentOS as well
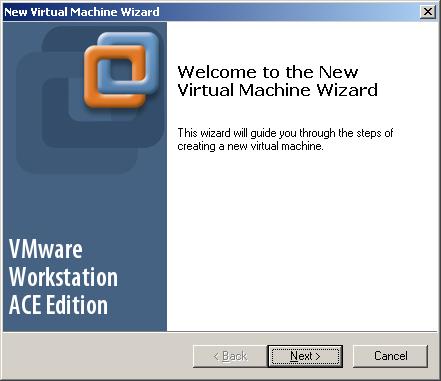
Click Next
 Select
 Typical and click Next
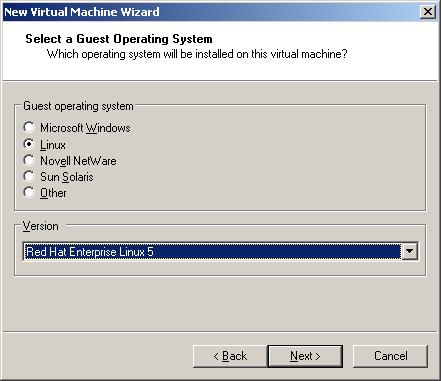
Select Linux and “Red Hat Enterprise Linux 5″ as an OS version and click next
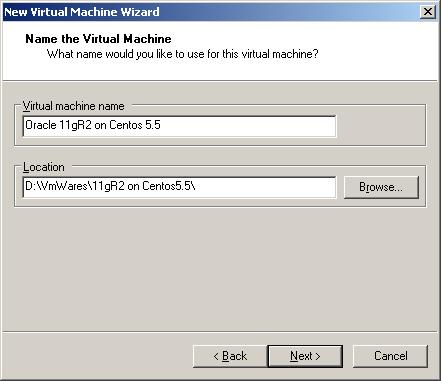
Provide the name of virtual machine and specify the location and click next
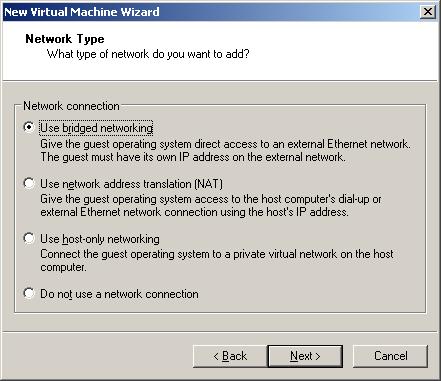
Select “Use bridged networking” and click Next
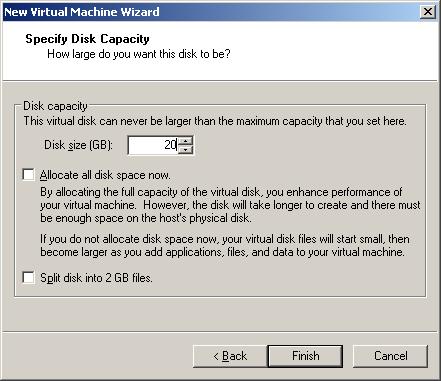
Specify the size of the virtual machine and click Finish
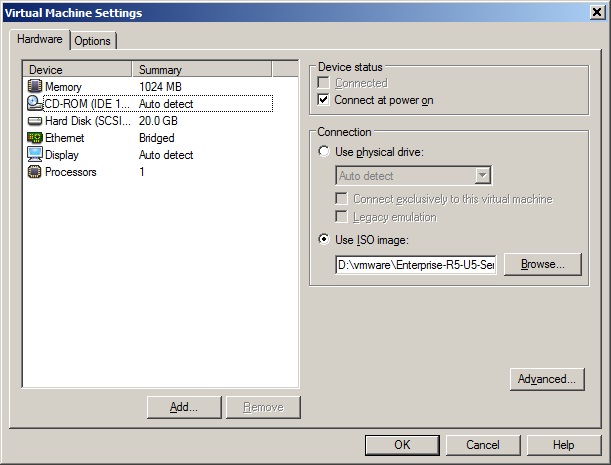
Delete Floppy, USB Controller and Sound Adapter devices, set Memory to 1024 Mb, mount ISO image of the OEL 5.5 OS and click OK

Click “Power on” button to start the virtual machine
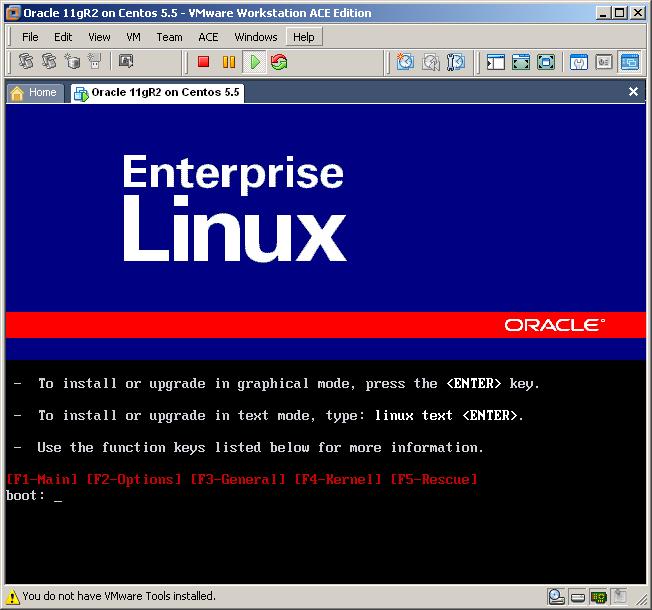
Click enter
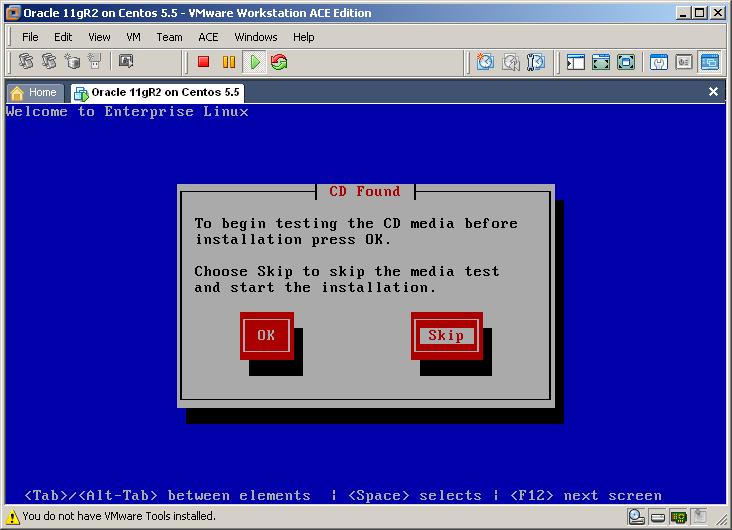
Select Skip button
Click Next

Select Installation
language and click next
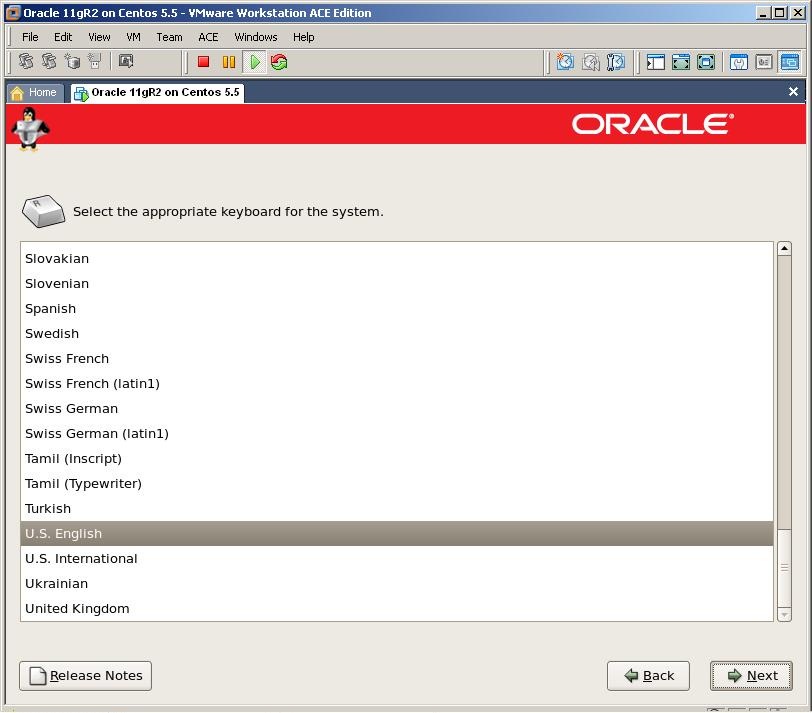
Select the keyboard and click next

Click on Yes
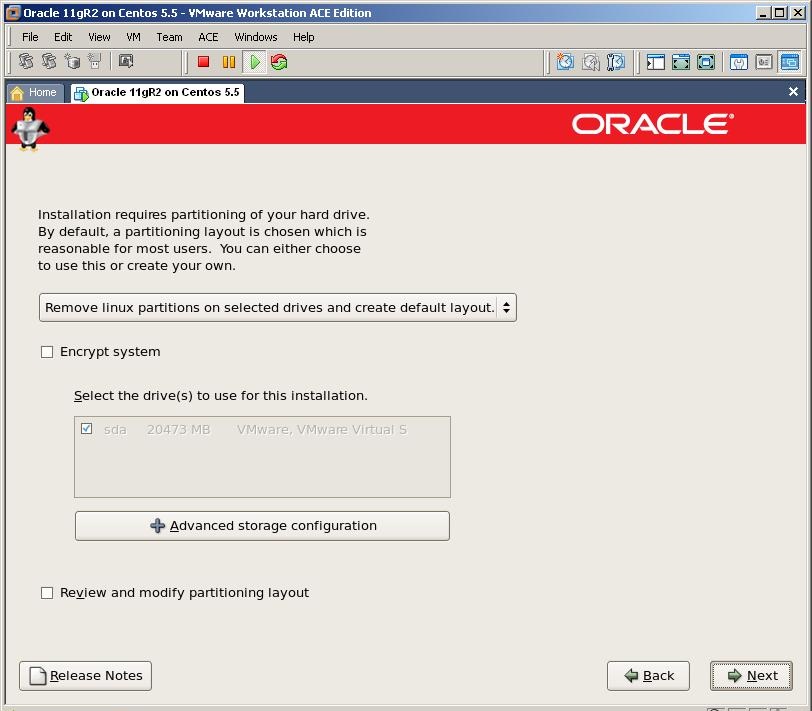
Click Next
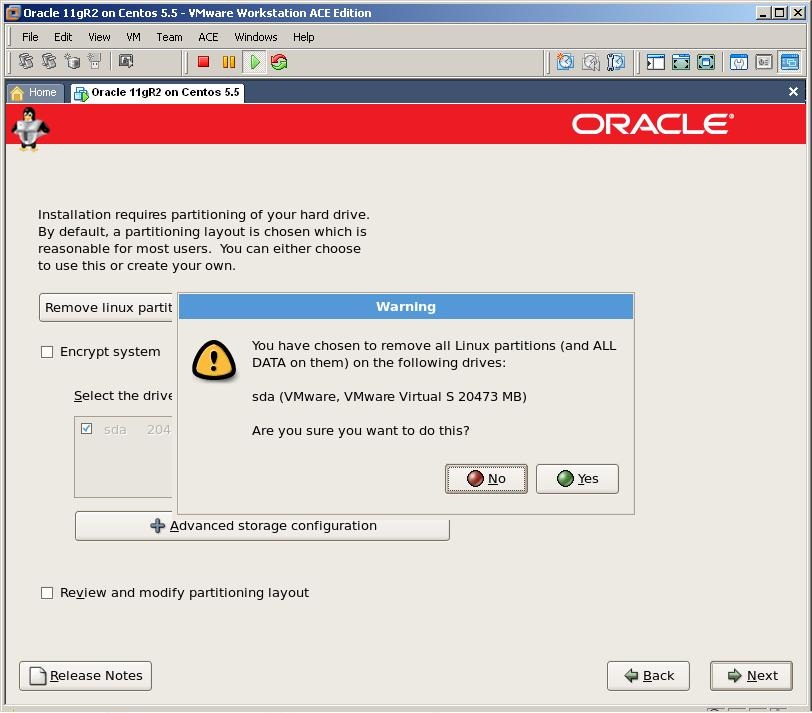
Click on YES to remove the partition and click next
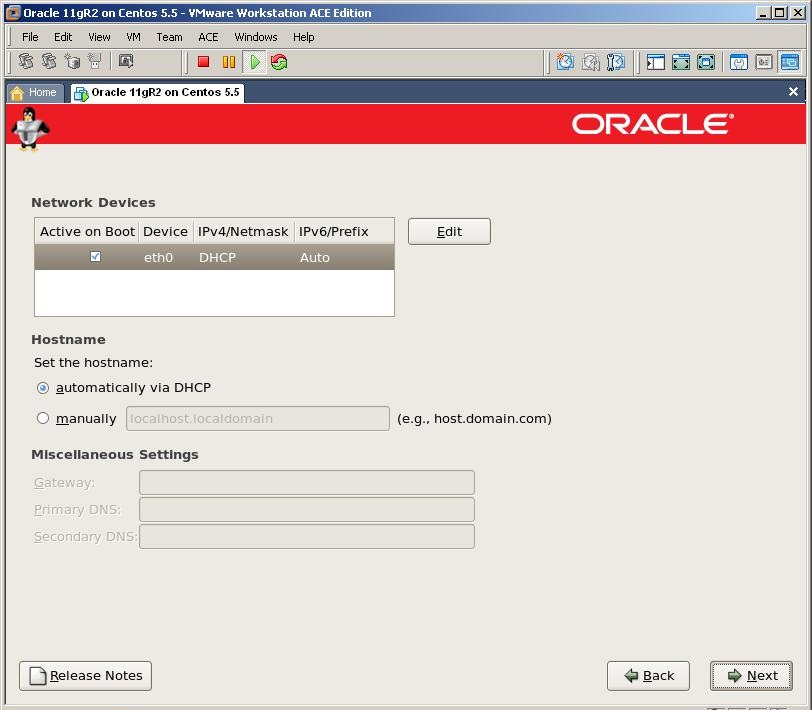
Click Next
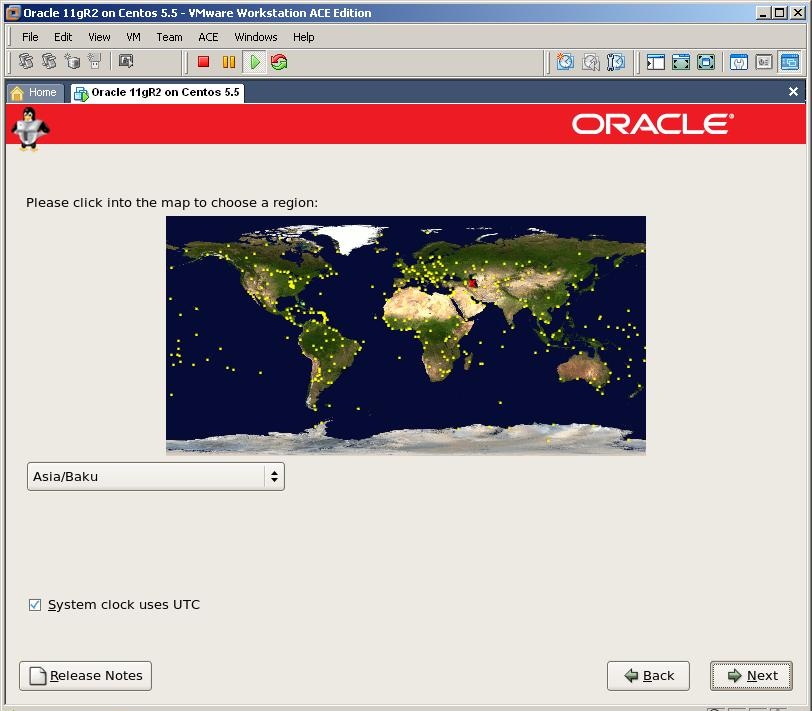
Select the country and click next
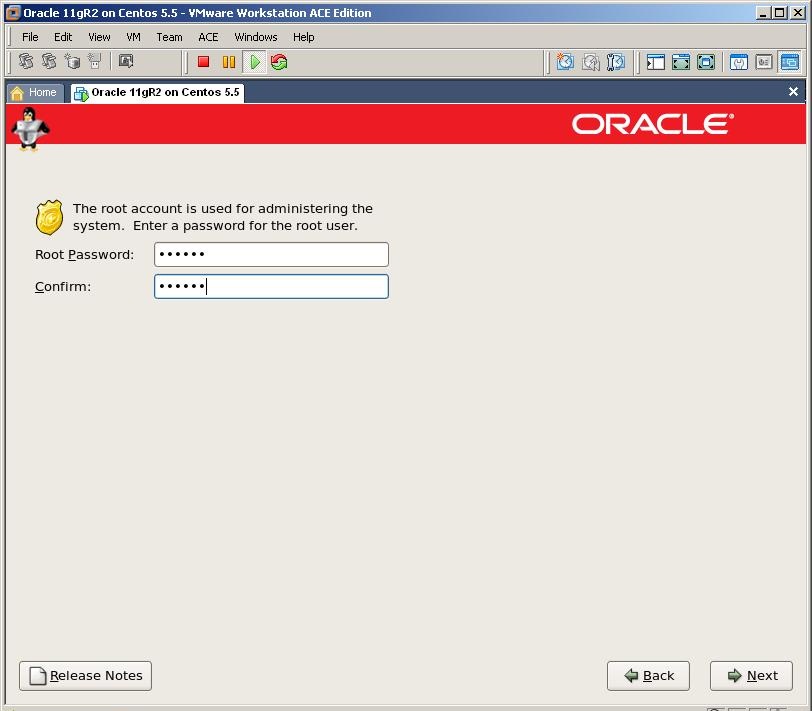
Provide the password of the root user and click next
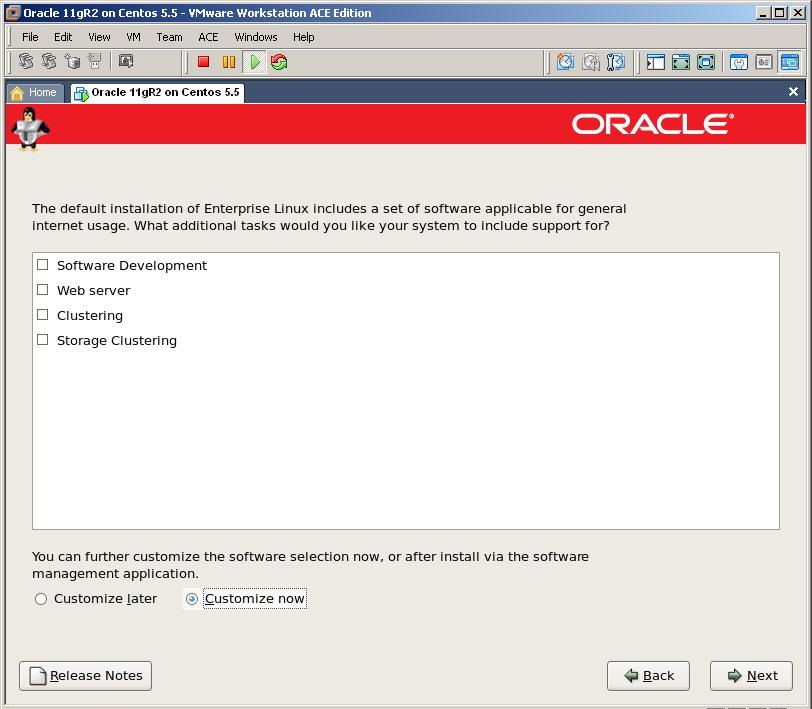
To install required packages for Oracle installation select “Customize now” and click Next
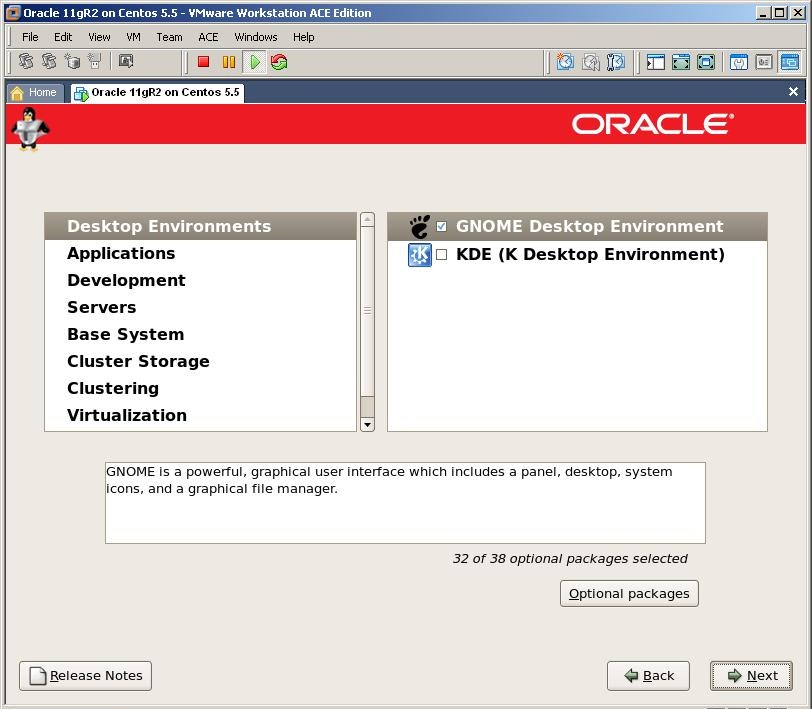 Desktop Environments
 GNOME Desktop Environment
Applications Graphical Internet
Development Development Libraries
Development Tools
GNOME Software Development
Java Development
Legacy Software Development
X Software Development (Select libxpdevel and openmotif)
Servers Server Configuration Tools
Web Server
Windows File Server
Base System Administration Tools
Base
Java
Legacy Software Support (select compat-db)
System Tools (select sysstat)
X Window System
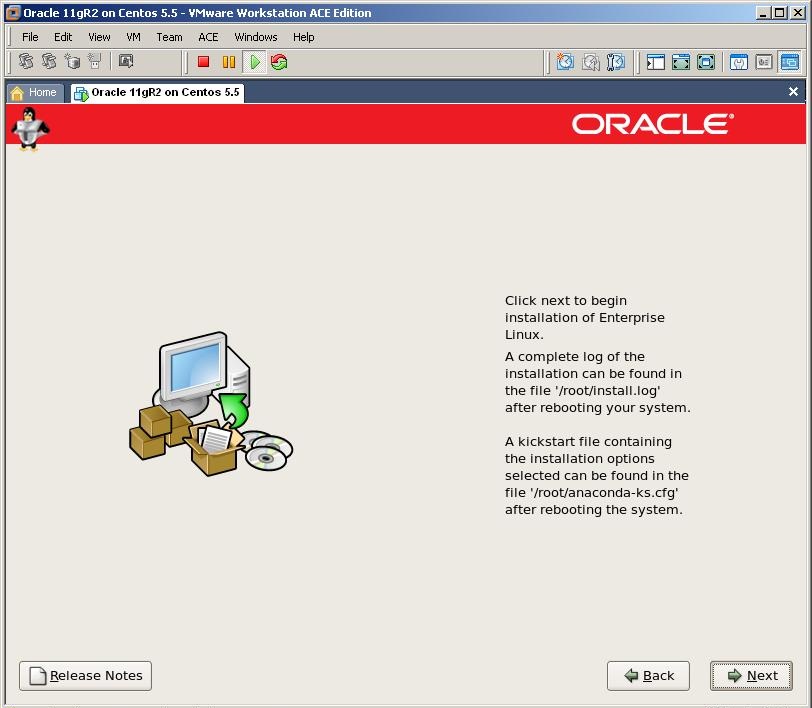
Click Next to start the installation
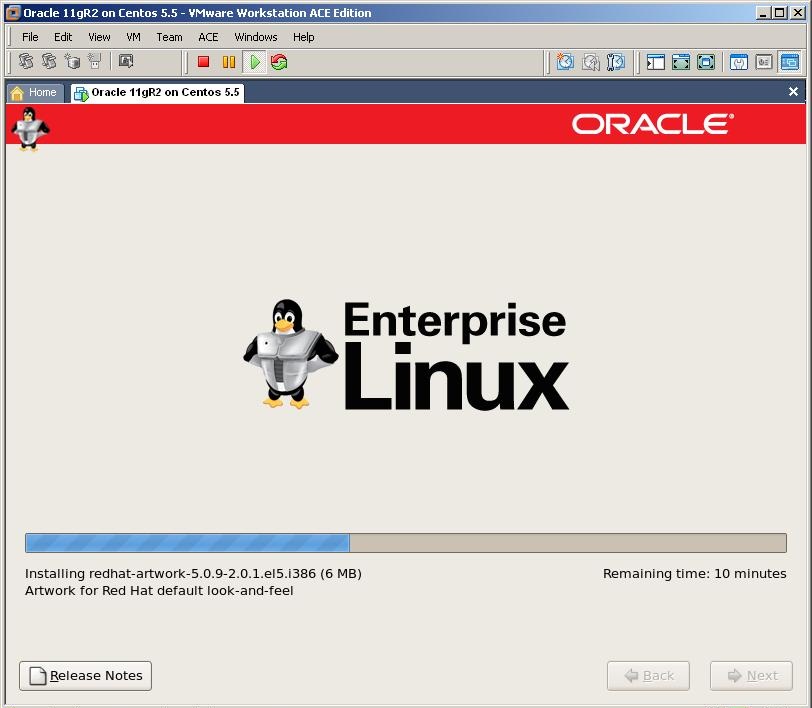
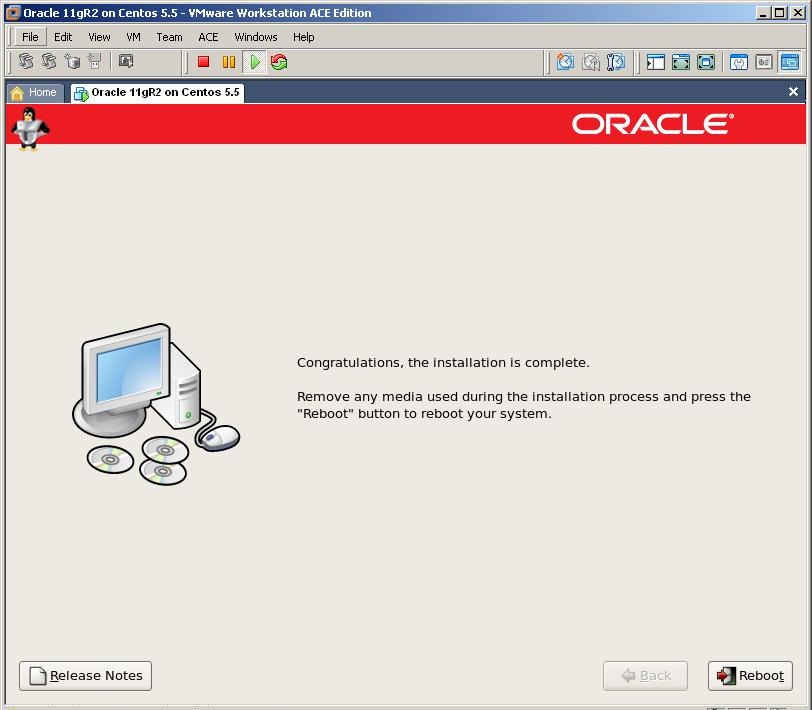
Click on Reboot button
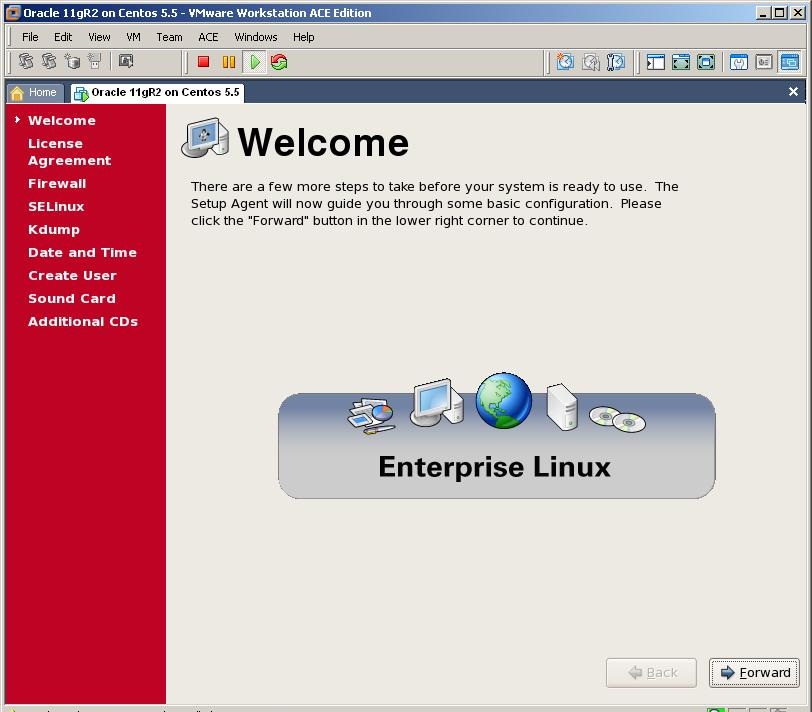
Click Forward

Choose the first option and click Forward
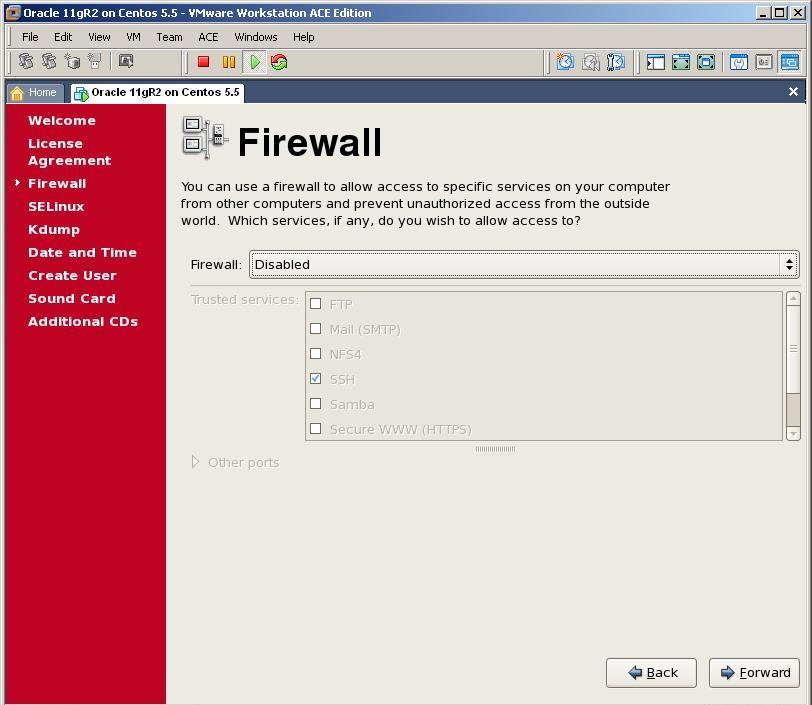
As we use the virtual machine for testing purpose, disable the firewall and click Forward
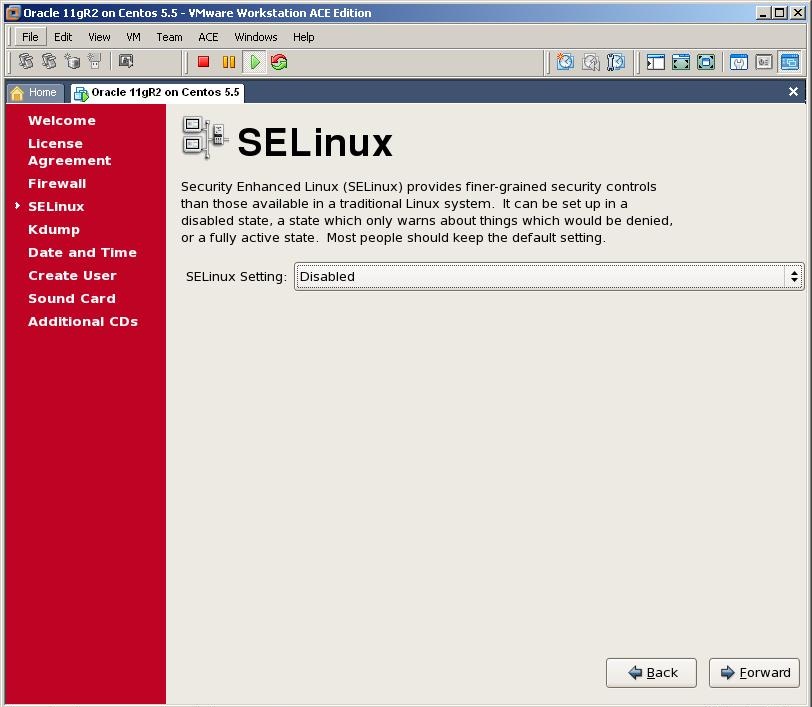
Disable Selinux and click Forward
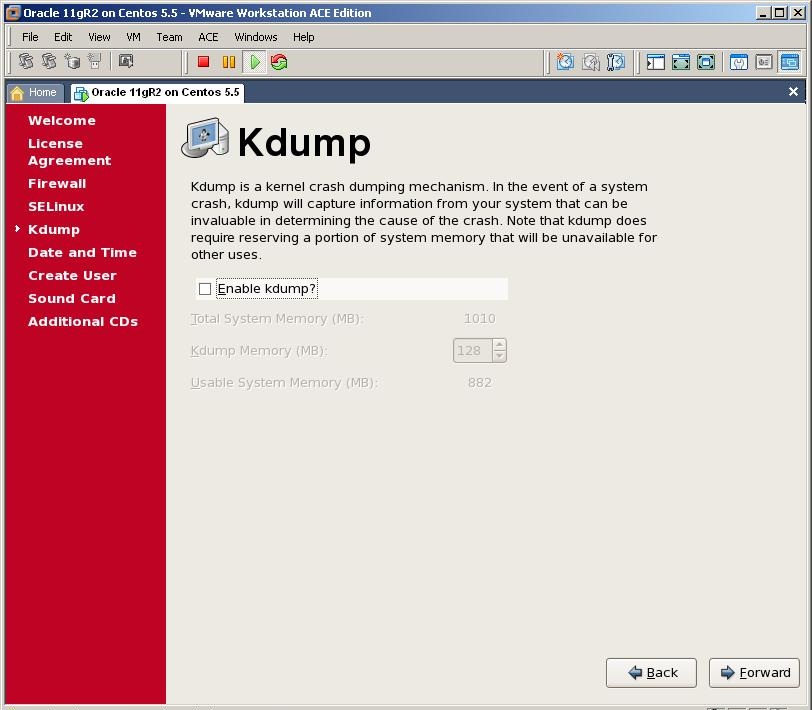
Click Forward
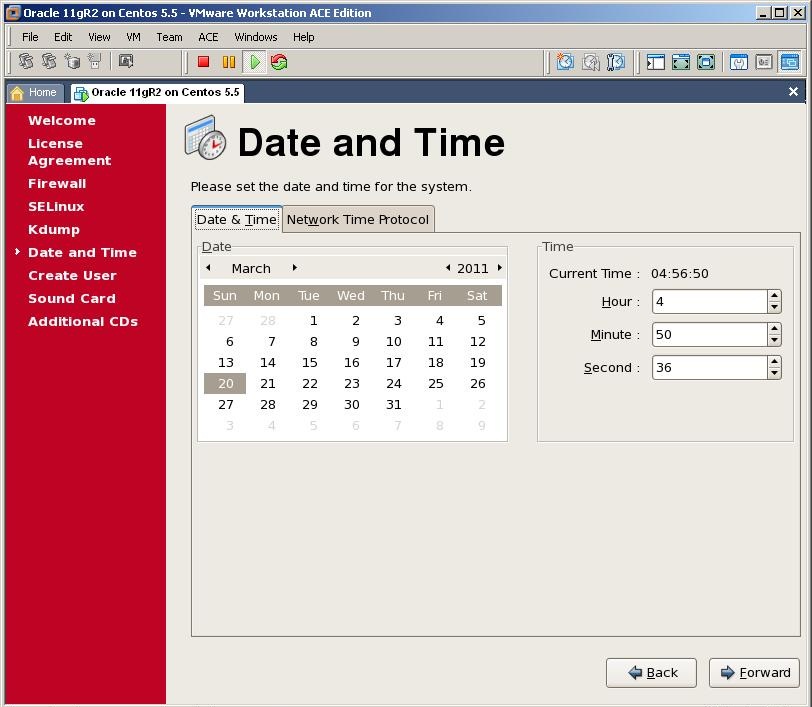
Specify the time and date and click Forward

We don’t need to create a user so click Forward

Click Finish button to finish the installation of OEL
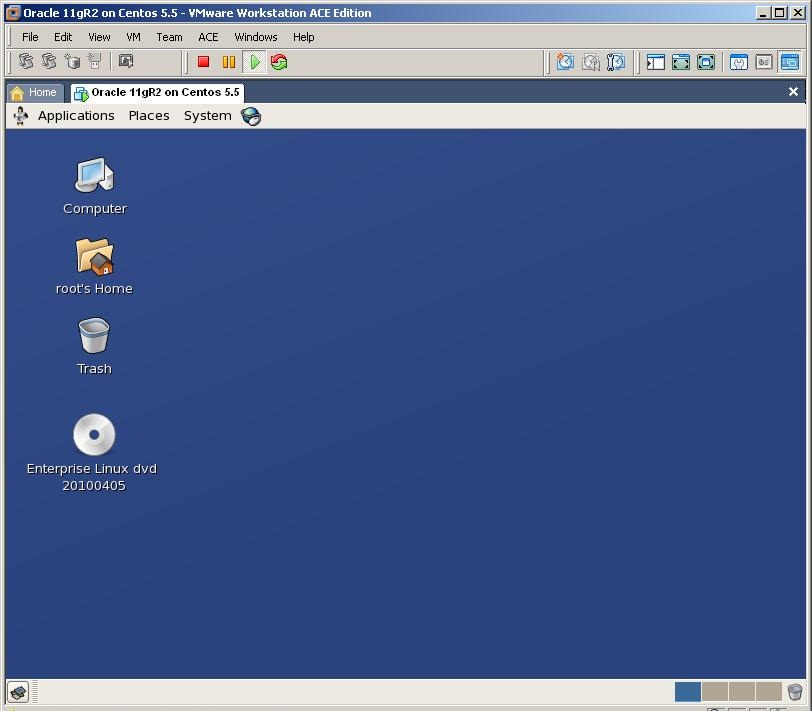 Login
Login with the root user

From VM menu, select Install VMWare tools

If the vmware installation cd doesn’t appear automatically, Eject the previous cd (installation of OEL), doublt click on Computer and double click on Cd-rom device. This will initialize the vmware tools cd
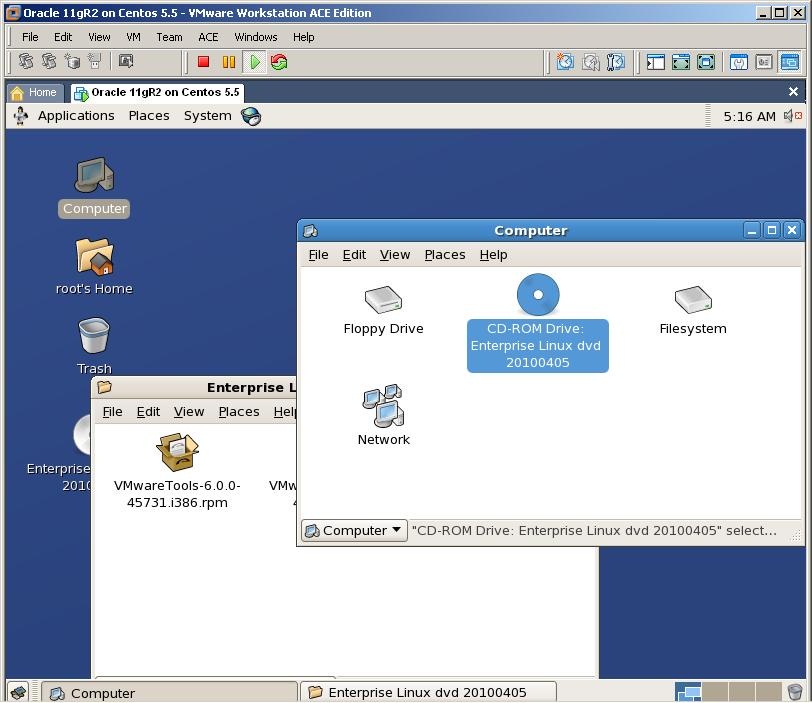
Double click on .rpm package
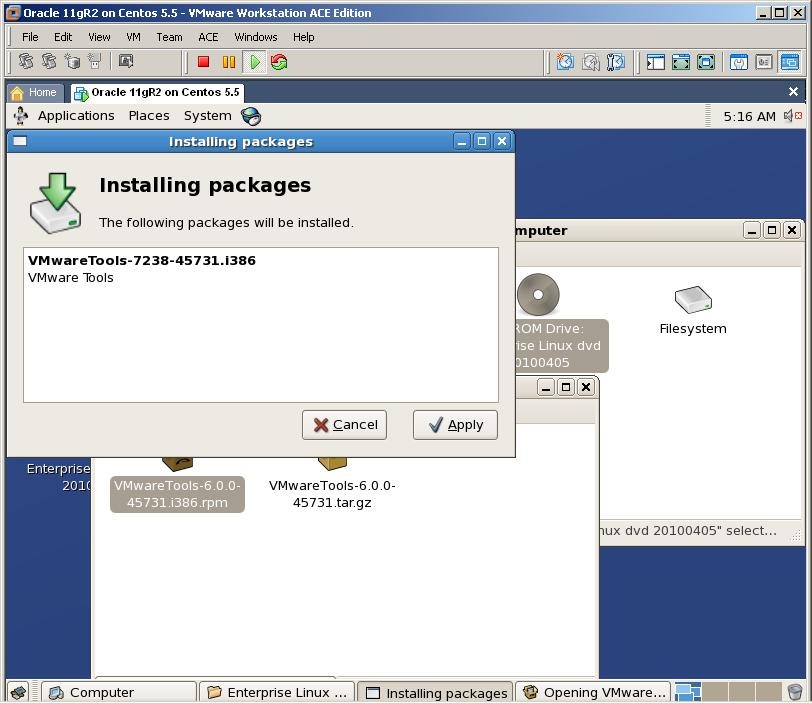
Click on Apply to start the installation
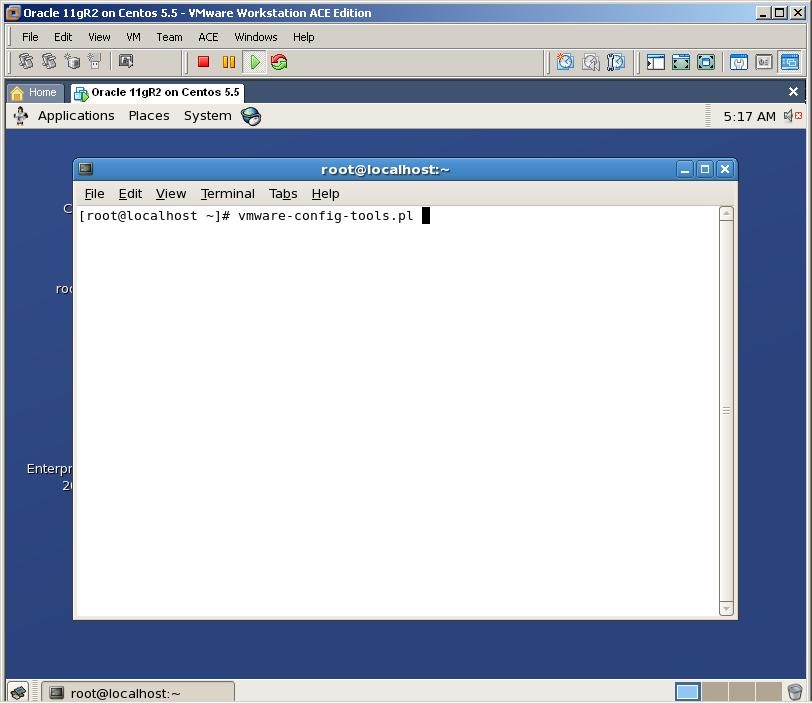
After you set all configurations, open new terminal and run vmware-config-tools executable and finish the installation of vmware tools

Now let’s create a user and groups for Oracle installation
1
2
3
4
|
groupadd oinstall
groupadd dba
useradd -m -g oinstall -G dba -d /home/oracle -s /bin/bash -c "Oracle Software Owner" oracle
passwd oracle
|
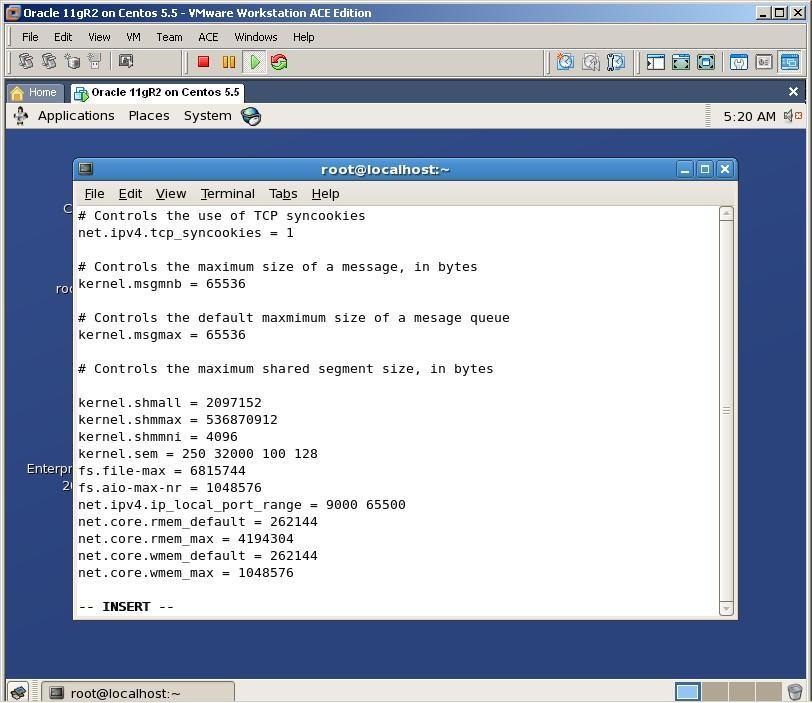
Change the /etc/sysconfig.conf file to add (change) kernel parameters that are required for Oracle installation
The file should be as follows:
1
2
3
4
5
6
7
8
9
10
11
12
13
14
15
16
17
18
19
|
net.ipv4.ip_forward = 0
net.ipv4.conf.default.rp_filter = 1
net.ipv4.conf.default.accept_source_route = 0
kernel.sysrq = 0
kernel.core_uses_pid = 1
net.ipv4.tcp_syncookies = 1
kernel.msgmnb = 65536
kernel.msgmax = 65536
kernel.shmmax = 2147483648
kernel.shmall = 2097152
kernel.shmmni = 4096
kernel.sem = 250 32000 100 128
fs.file-max = 6815744
fs.aio-max-nr = 1048576
net.ipv4.ip_local_port_range = 9000 65500
net.core.rmem_default = 1048576
net.core.rmem_max = 4194304
net.core.wmem_default = 262144
net.core.wmem_max = 1048576
|
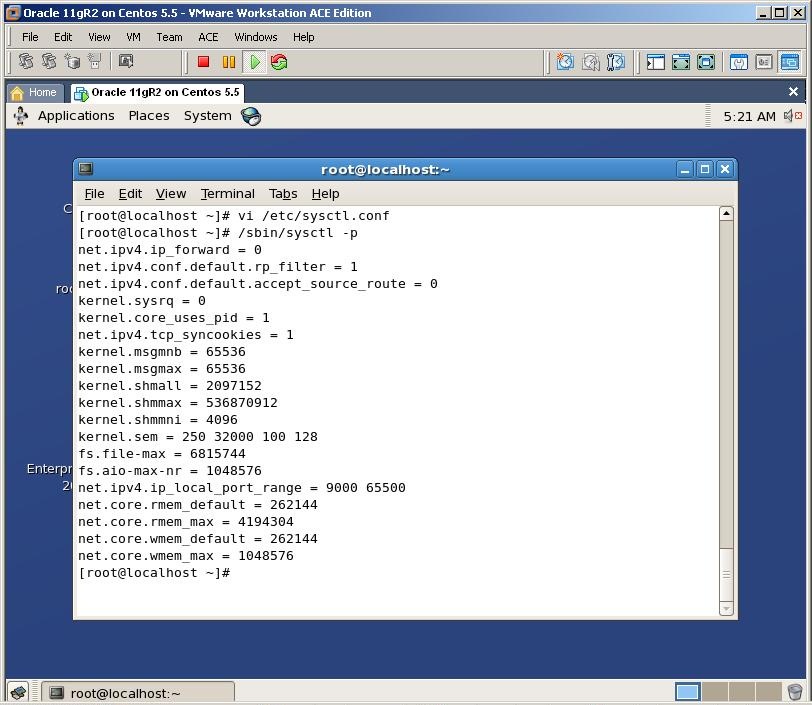
To make the active in the current session, run /sbin/sysctl -p command
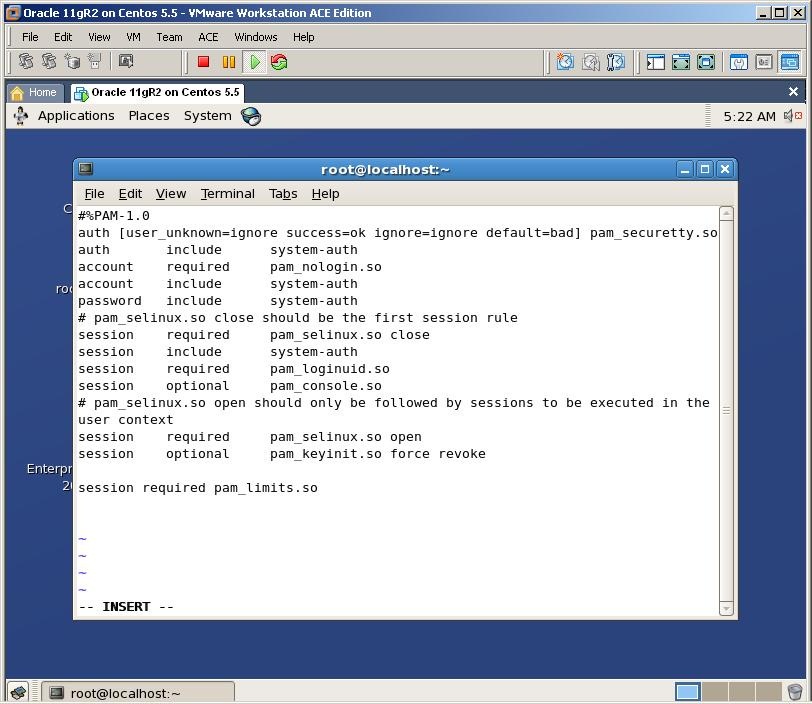
Change /etc/pam.d/login file and add the followingn line:
1
|
session required pam_limits.so
|
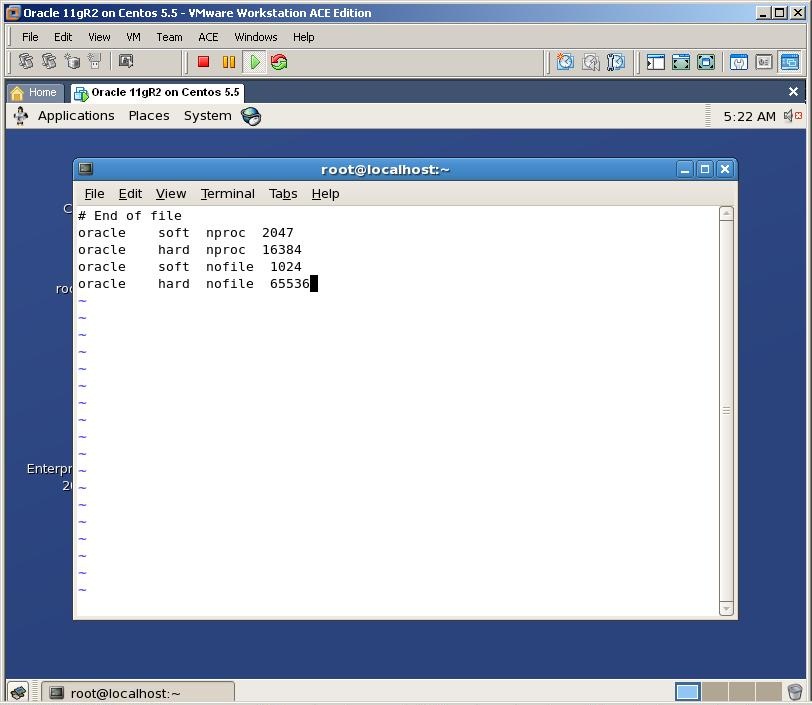
Change /etc/security/limits.conf and add the following lines:
1
2
3
4
|
oracle soft nproc 2047
oracle hard nproc 16384
oracle soft nofile 1024
oracle hard nofile 65536
|
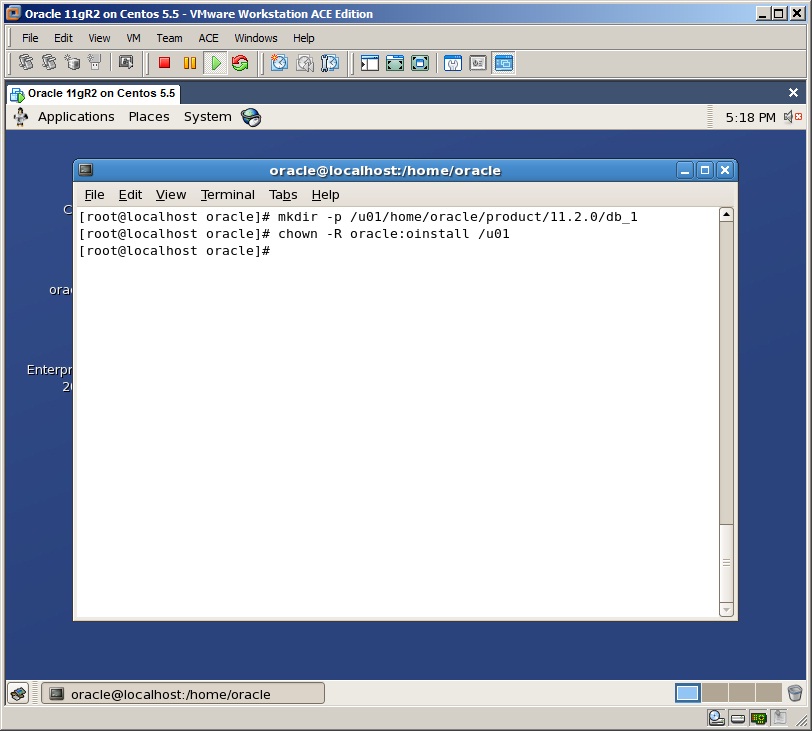
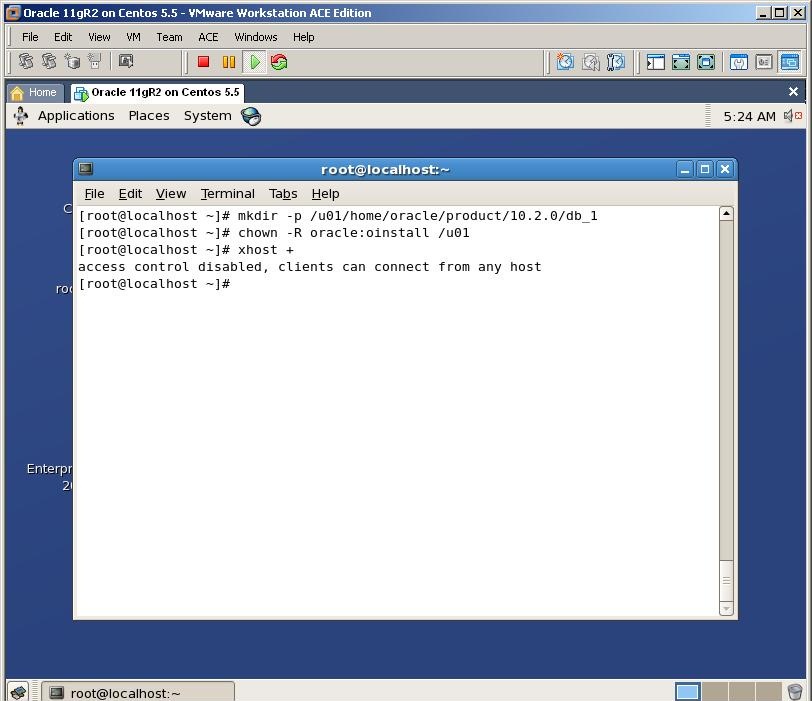
Create necessary directories for Oracle home
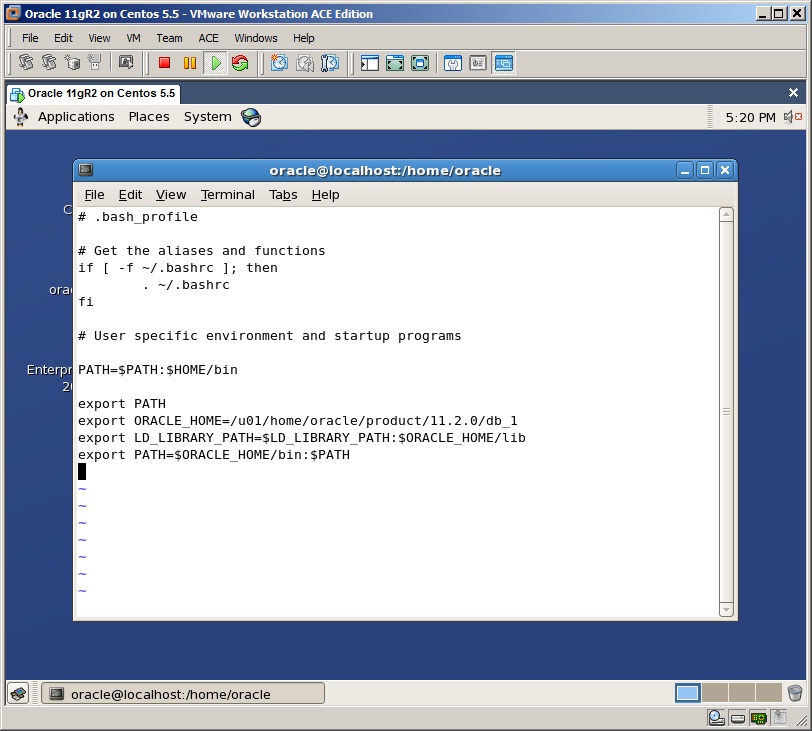
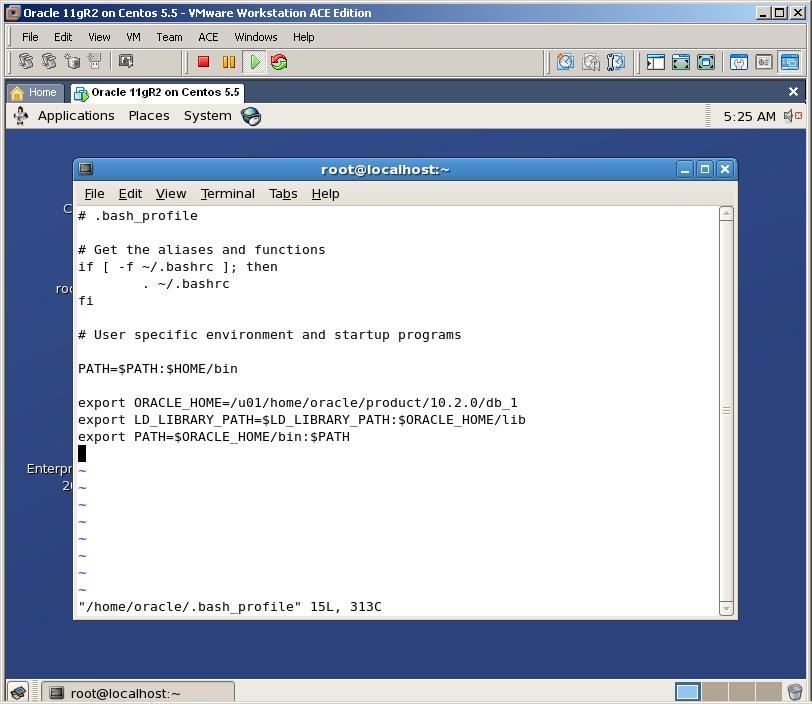
Change the entry of .bash_profile file of the oracle user and add following lines:
vi /home/oracle/.bash_profile
1
2
3
|
export ORACLE_HOME=/u01/home/oracle/product/11.2.0/db_1
export LD_LIBRARY_PATH=$LD_LIBRARY_PATH:$ORACLE_HOME/lib
export PATH=$ORACLE_HOME/bin:$PATH
|
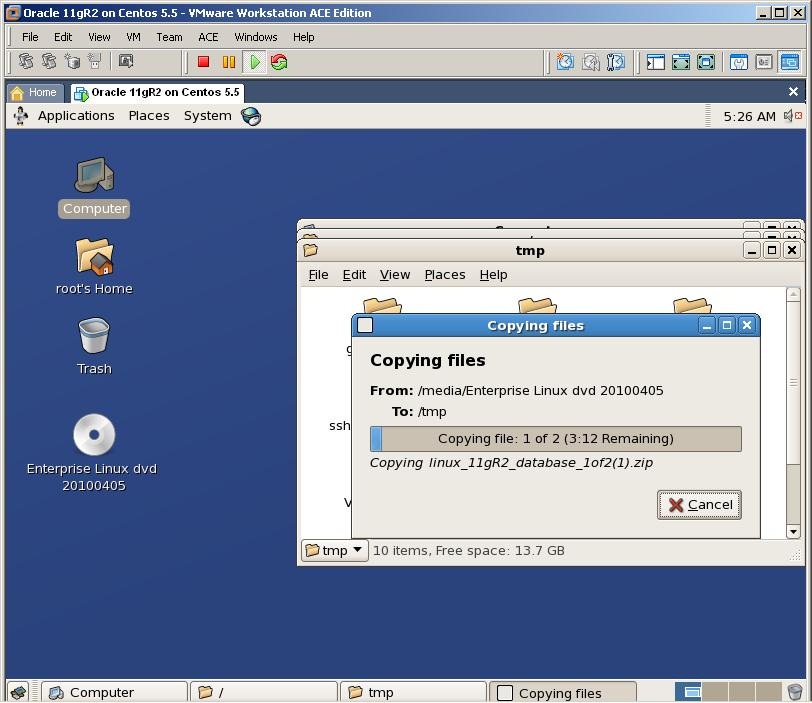
Now copy downloaded oracle installation files to the /tmp directory
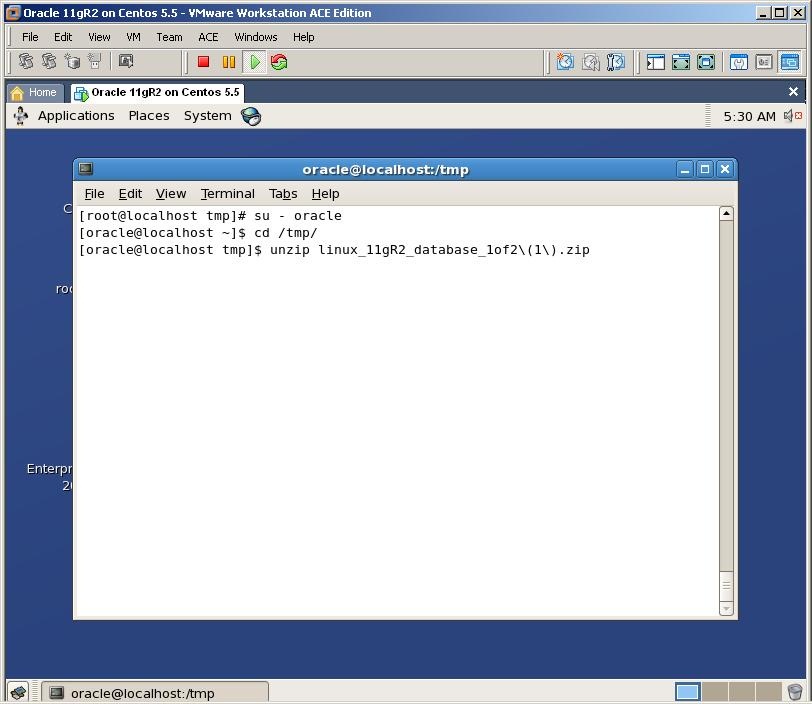
Switch to the /tmp directory and unzip both files with oracle user. This will create a new folder called “database”

Logout from root user, login with oracle, switch to the /tmp/database directory and run installation by running the following executable
1
2
3
|
cd /tmp/database
./runInstaller
|
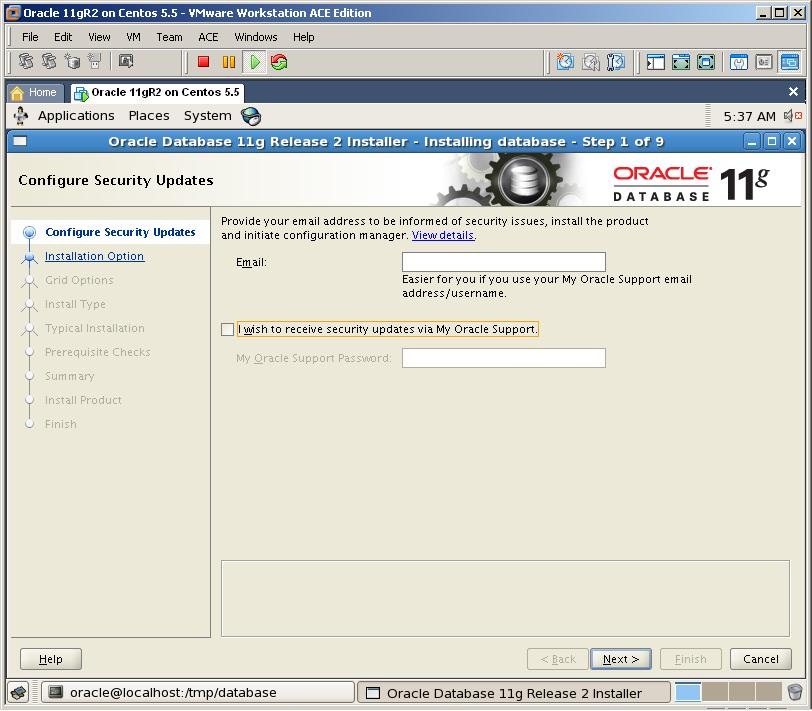
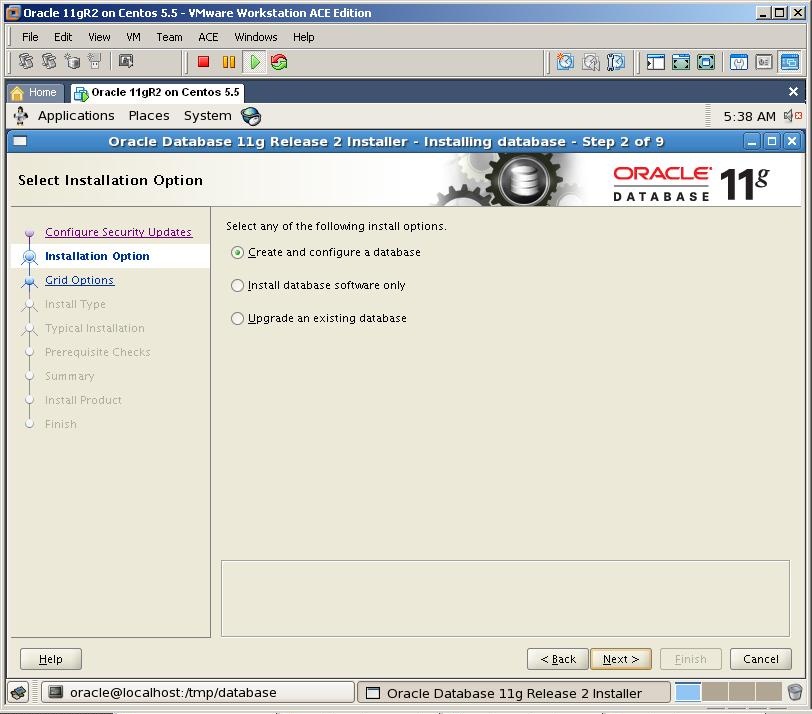
Select Create and configure a database and click next
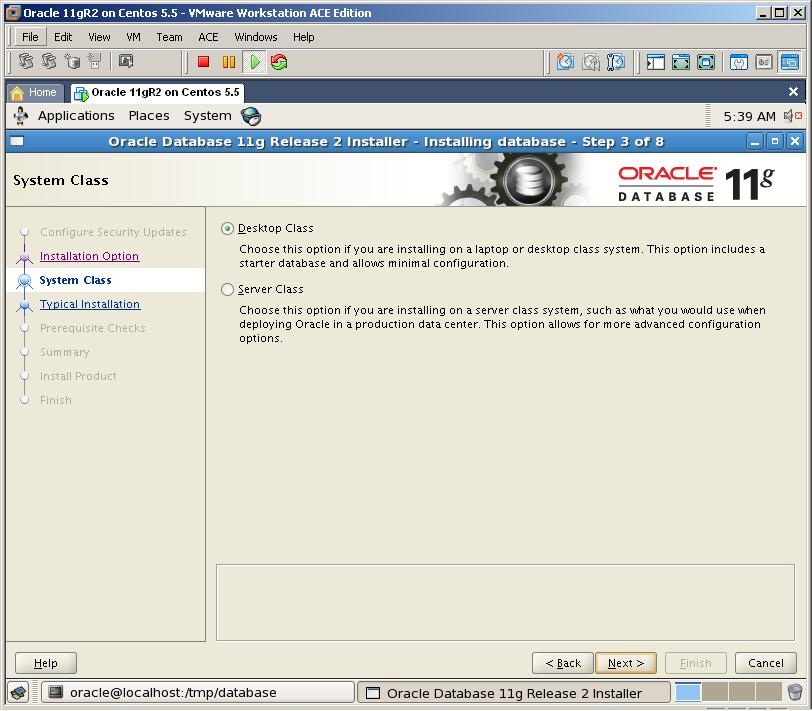
Select the first option and click Next
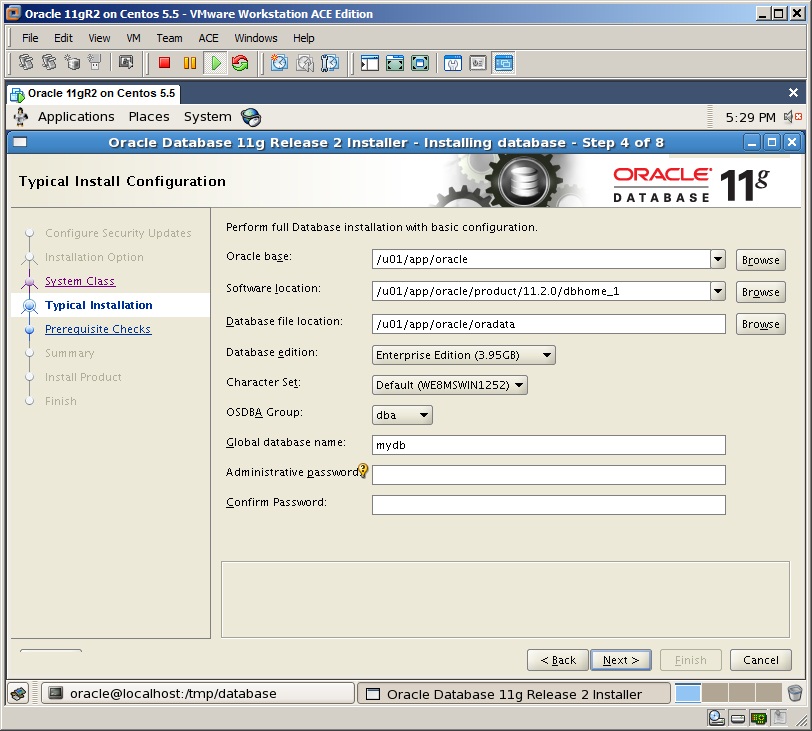
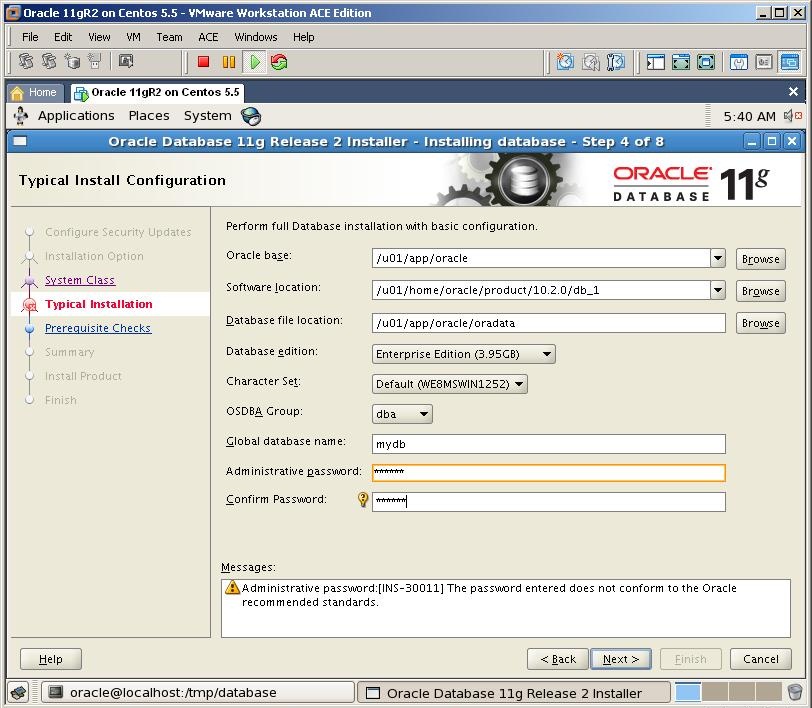
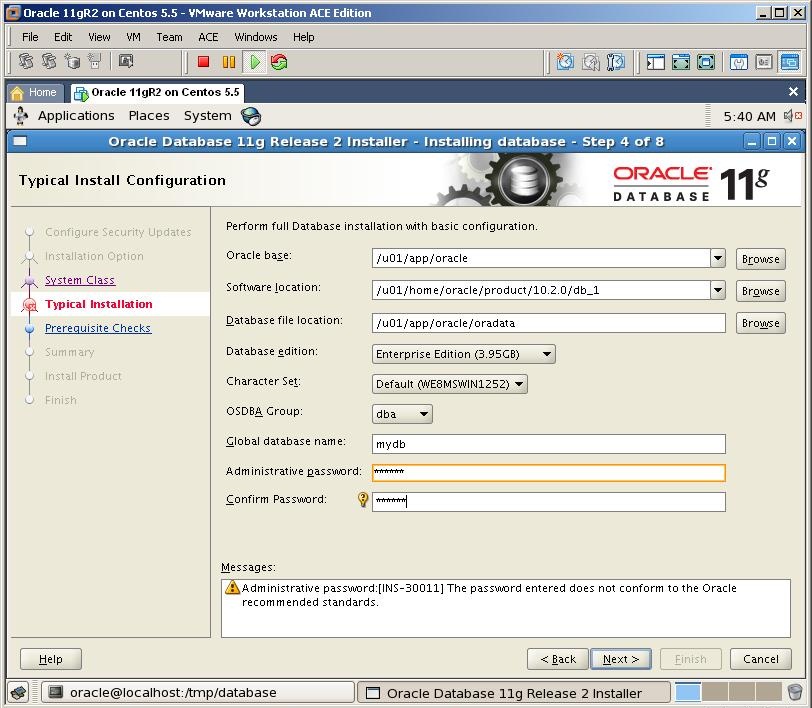
Provide the name of the database and the password and click next
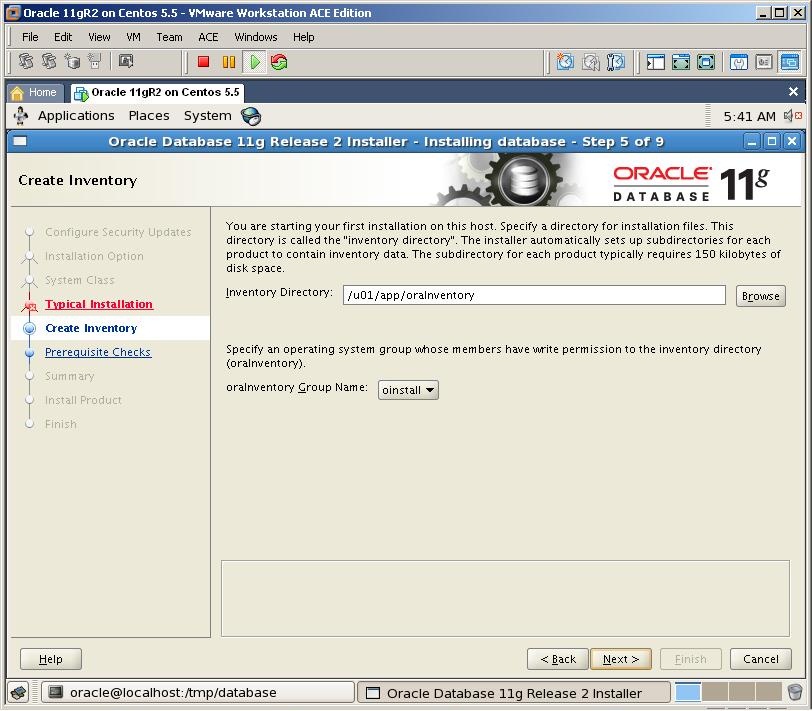
Specify the folder for the inventory directory and click Next
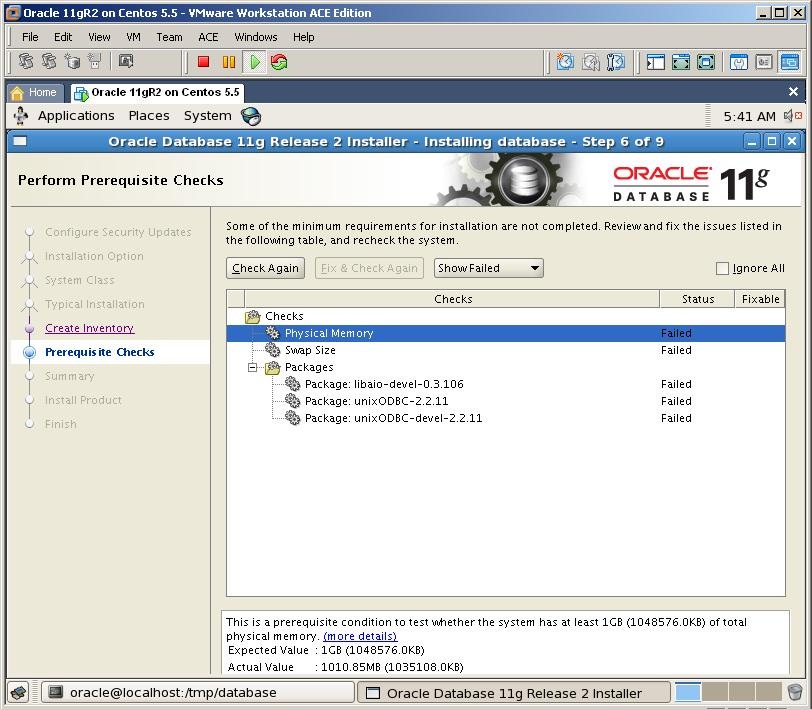
In the prerequisite check we was informed that we need to install three packages as well. So mount the .iso file of the OEL installation, switch to the Server folder
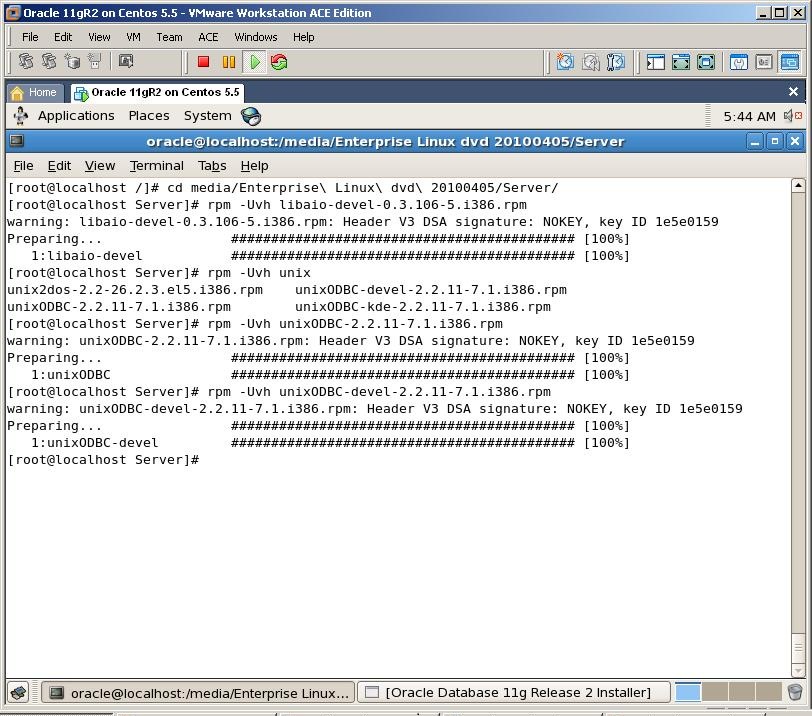
Install all three packages with rpm -Uvh command as it’s shown above
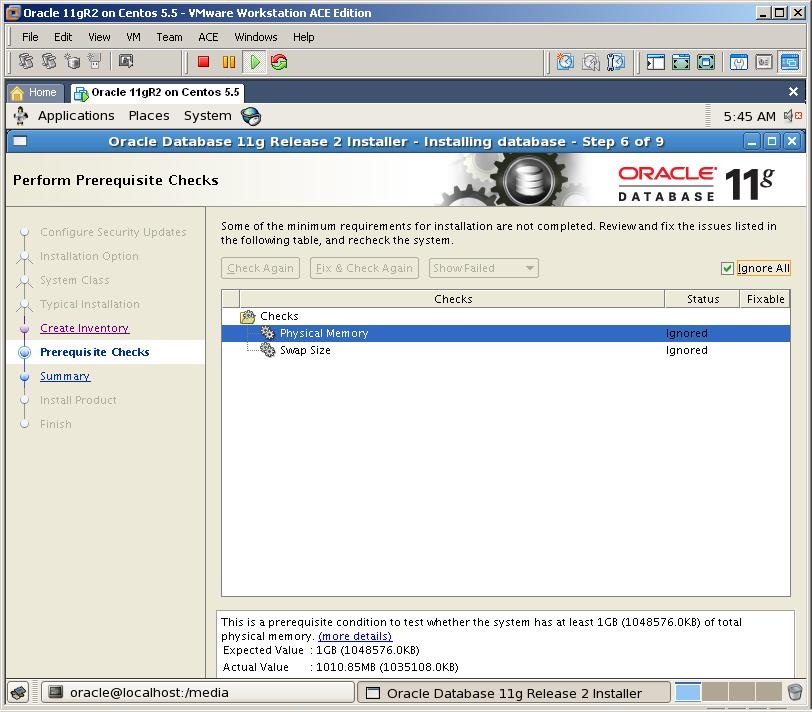
Click on Check Again button and you’ll see that those notifications are disappeared. Check “Ignore all” checkbox and click Next

Click Finish button to start the installation
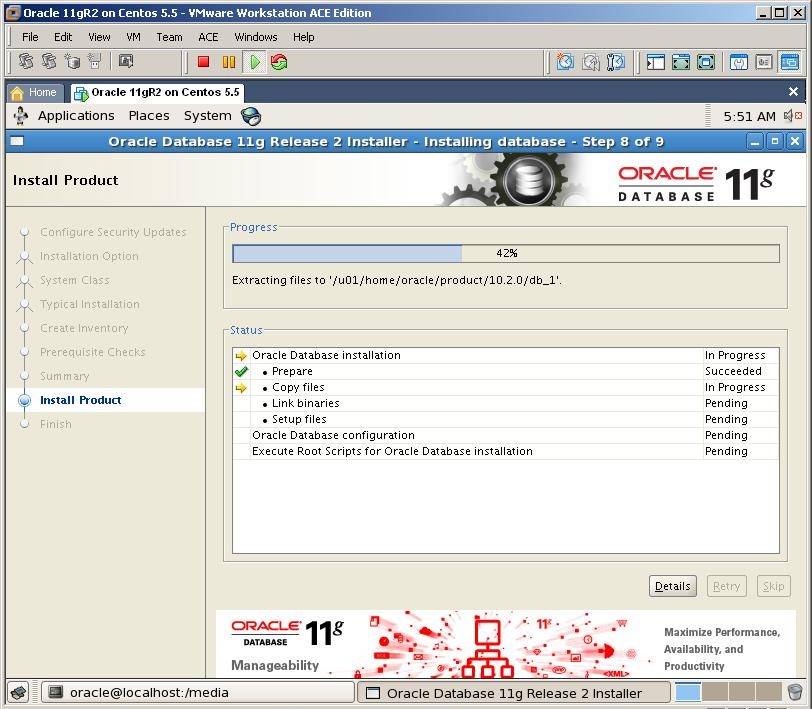
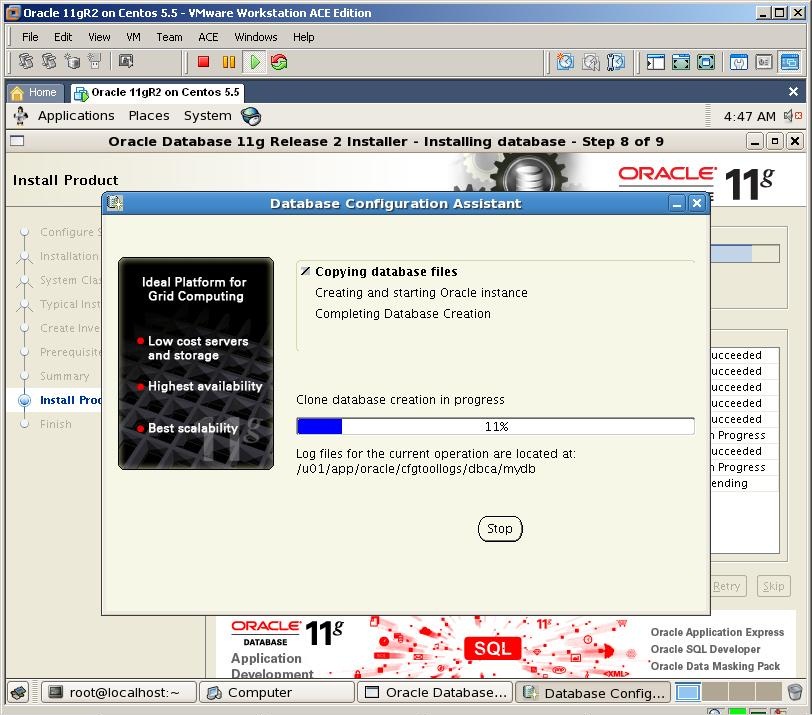
DBCA tools automatically will start to create the database named mydb
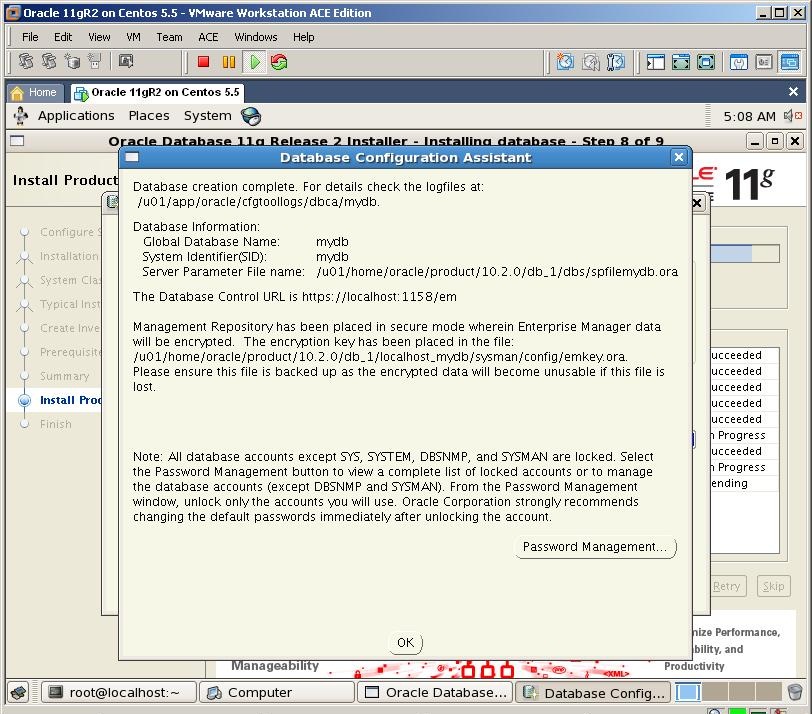
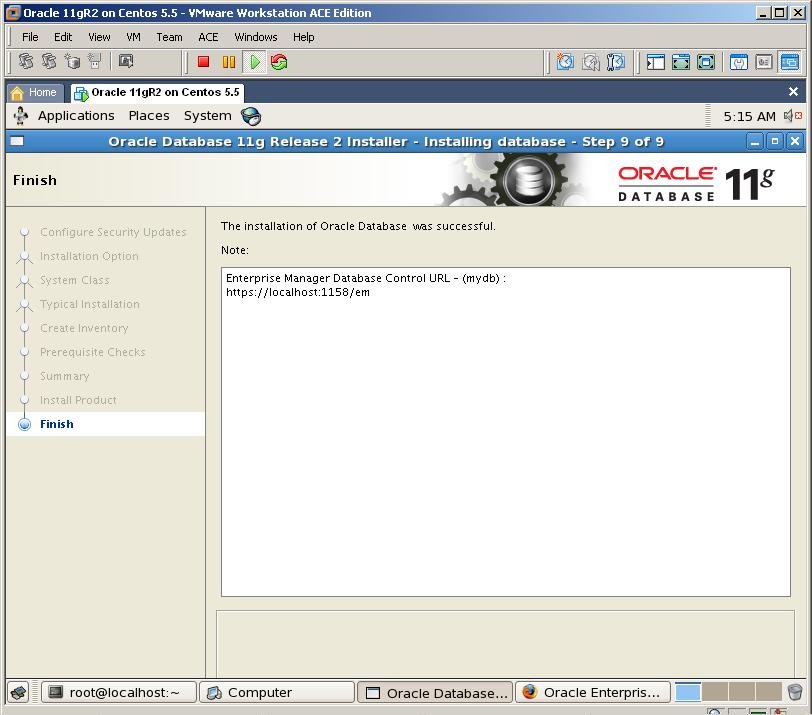
After all, the installation finished successfully. Get the url of the database control
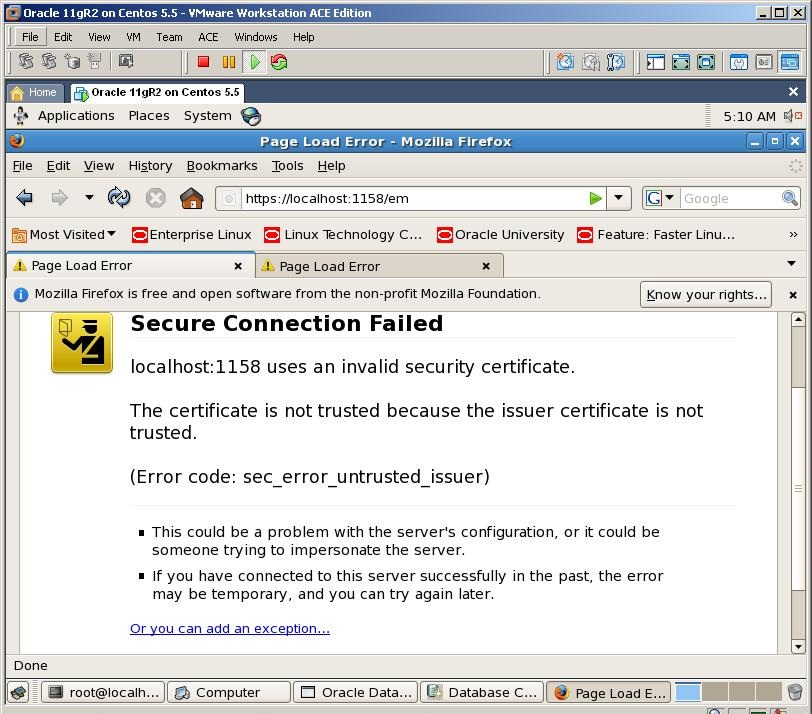
Open a web browser and paste that url to the address field. Click “or you can add an exception” link
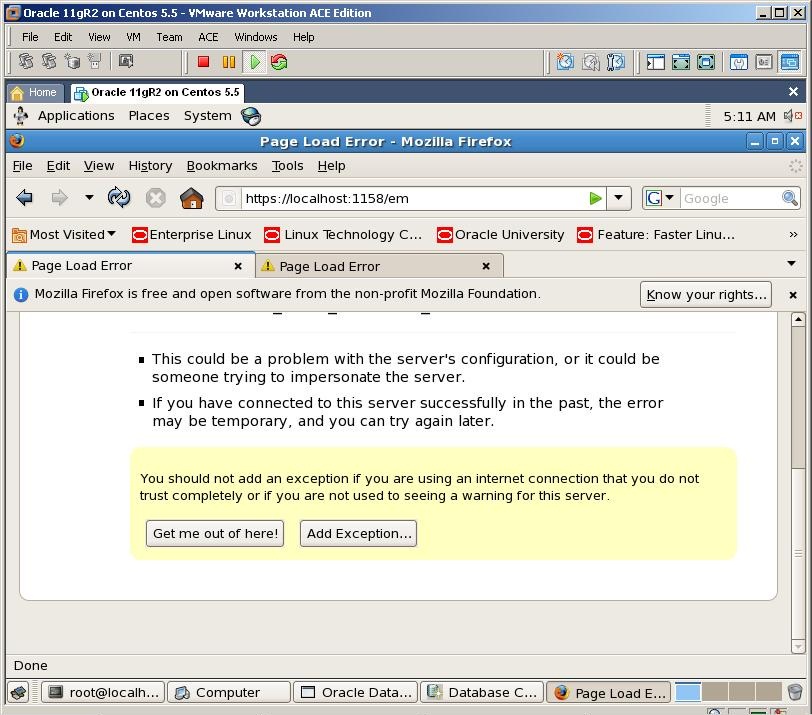
Click on “Add Exception” button
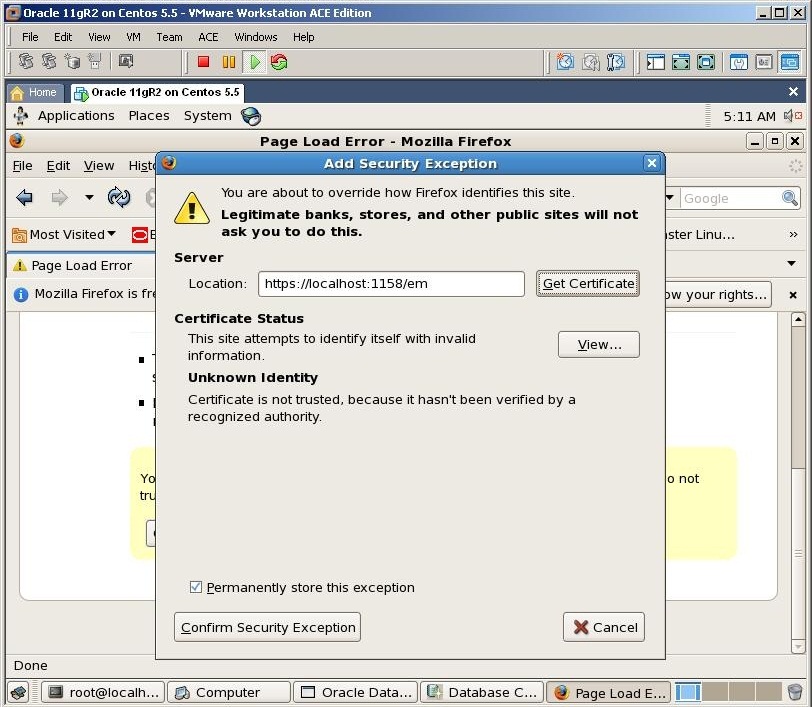
Click Get Certificate and Confirm Security Exception buttons
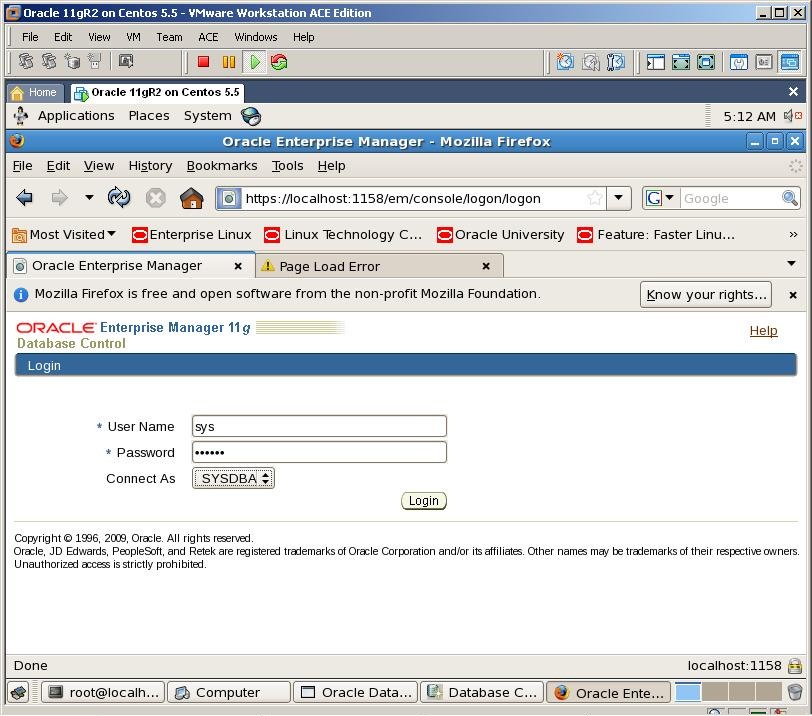
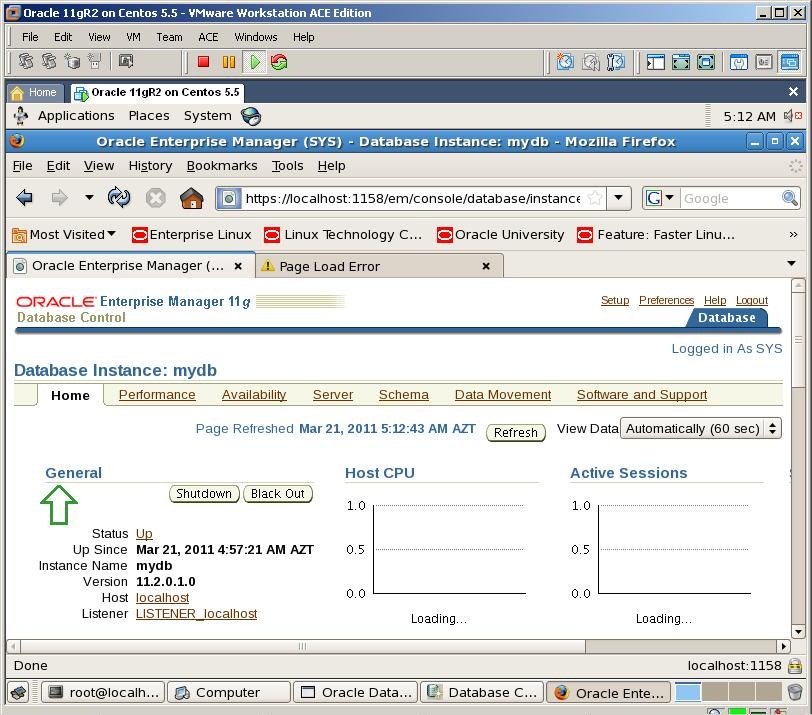
Provide the password for sys user and password, select SYSDBA and click Login button

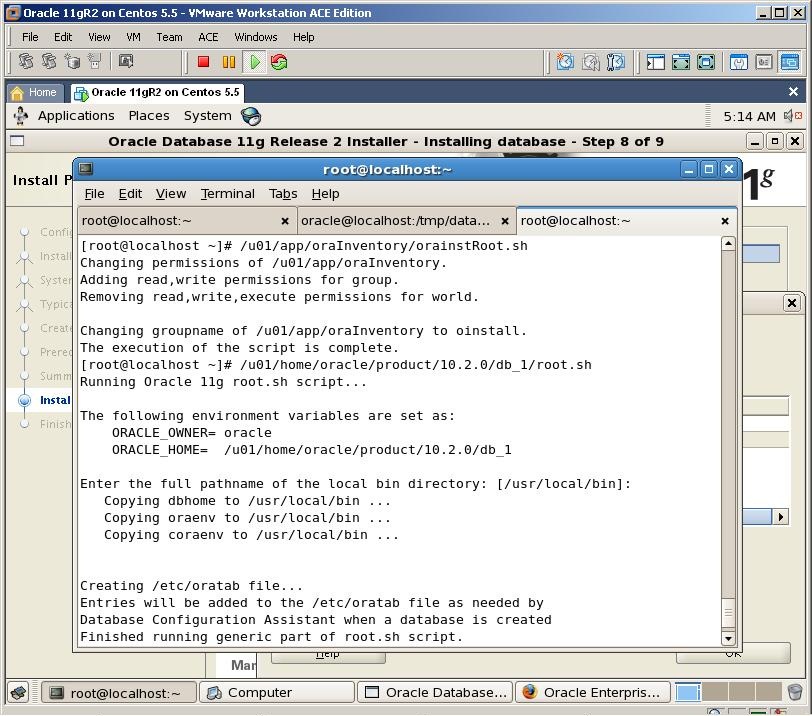
Switch to the installation page and run both shell scripts with root user
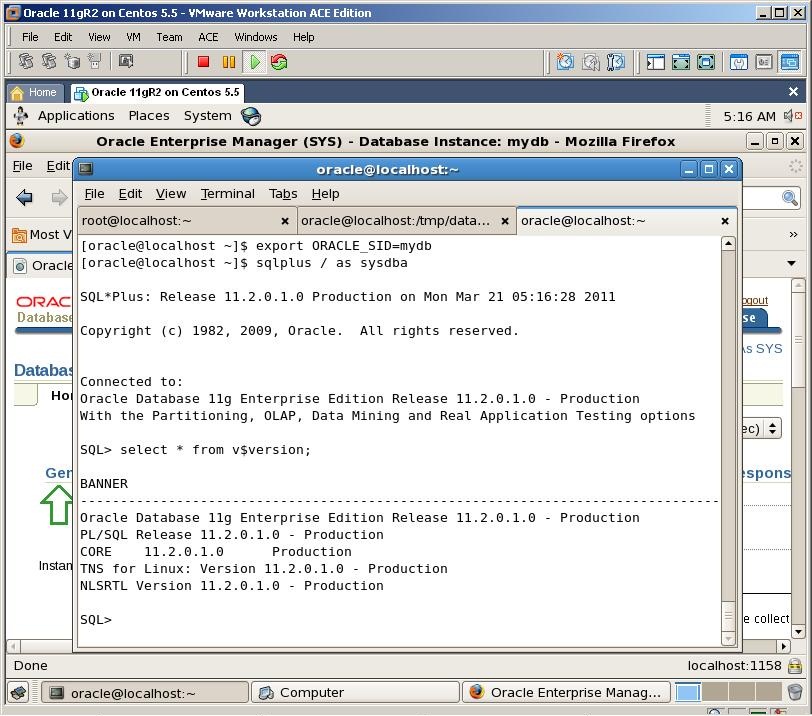
Open a new terminal, export ORACLE_SID variable and connect to the database
I hope by following my step by step instruction, you’ll also install Oracle 11gR2 on OEL successfully