Overview
What is Oracle OLAP?
Oracle OLAP is an integrated component of Oracle Database 11g that enables companies to easily gain insights into business performance. It provides the following benefits:
- Exceptional query, calculation and data preparation performance
- Rich analytic capabilities
- Simple user model that reflects business usage
- Open access to any SQL tool
Native multidimensional object types in Oracle database are provided by Oracle OLAP cubes. Cubes are made up of measures and organized by dimensions.
Measures represent factual data, such as sales, cost, profit, and margin. Measures may be stored or calculated at query time. Stored measures are loaded and stored in the database. The values for calculated measures are computed dynamically by the OLAP calculation engine at query time. Common calculations include measures such as ratios, differences, time-series, indicies, moving totals, and averages. Calculations do not require disk storage space, and they do not extend the processing time required for data maintenance.
Dimensions identify and categorize your measure data. Examples of dimensions include product, geography, time, and distribution channel. Dimension hierarchies are optional but are common in OLAP systems. A hierarchy is a logical structure that groups like members of a dimension together for the purpose of analysis. A dimension�s structure is organized hierarchically based on parent-child relationships. These relationships enable navigation between levels, and aggregation from child values to parent values.
Cubes provide a convenient way of collecting similar measures of the same dimensionality. It is not uncommon for many measures to have the same shape, and so by defining their shape (and other shared characteristics) for a cube, you can save time when building your OLAP data model.
Oracle OLAP adds power to your SQL applications by providing extensive analytic content and fast query response times. A SQL query interface enables any application to query cubes and dimensions without any knowledge of OLAP.
The OLAP option automatically generates a set of relational views on cubes, dimensions, and hierarchies. SQL applications query these views to display the information-rich contents of these objects to analysts and decision makers.
Understanding Oracle BI EE Metadata
Oracle BI EE is an end-user tool that depends on its own metadata layer, which means that the metadata repository must describe how queries should be constructed against the relational data sources. With Oracle OLAP data, you must complete the same administrative tasks for metadata that are required for any relational source.
An Oracle BI EE metadata repository requires you to create three layers of information:
- First, you define a Physical layer. This metadata layer identifies the source data.
- Second, you define a Business Model and Mapping layer. This metadata layer organizes the physical layer into logical categories and records the appropriate metadata for access to the source data.
- Finally, you define the Presentation layer. This metadata layer exposes the business model entities for end-user access.
Prerequisites
Before starting this tutorial, you should:
| 1. | Have access to or have installed Oracle BI EE 11.1.1.5 Note: You must have administrator-level access to the WebLogic managed server instance for Oracle BI EE. |
|---|---|
| 2. | Have access to or have installed Oracle 11g Database with the OLAP option Note: You will need sysdba access to the Oracle database. |
| 3. | Have downloaded the manual installation files for the Oracle Sample Application for Oracle BI EE, V107 (for 11.1.1.5) |
| 4. | Have started Oracle database, Oracle TNS listener, and Oracle BI services |
Setting Up the Tutorial Environment
In this topic, you use Oracle data pump to create the BISAMPLE schema required for this tutorial. If you already have a schema called BISAMPLE in your Oracle database, you must drop the existing schema before completing this topic. In the event that you cannot drop the existing schema, you can import the new schema into a different schema name using the schema mapping options available in the impdp command. However, if you choose to rename the new schema, be sure to reference your alternate schema name instead of BISAMPLE for the remainder of the tutorial.
Note: If you have already installed the complete Sample Application for Oracle BI EE (V107), this section is not required.
| 1. | Unzip the Sample Application installation files. Note: If you plan to install the entire sample application, Oracle recommends that you unzip the installation archive to a root directory (for example, c:\) to avoid having long path name conflicts. 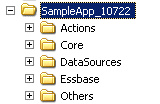 |
|---|---|
| 2. | From your sample application installation files, copy \DataSources\ORCL\SASchemas.dmp to the machine where Oracle database 11gR2 is running. Place the file in a folder (for example, c:\datapump).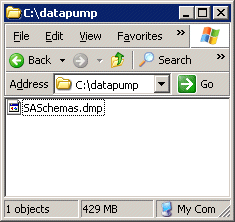 |
| 3. | Open a command window and enter a connection string to connect to SQLPlus as a SYSDBA user. For example:
sqlplus sys/oracle@orcl as sysdba
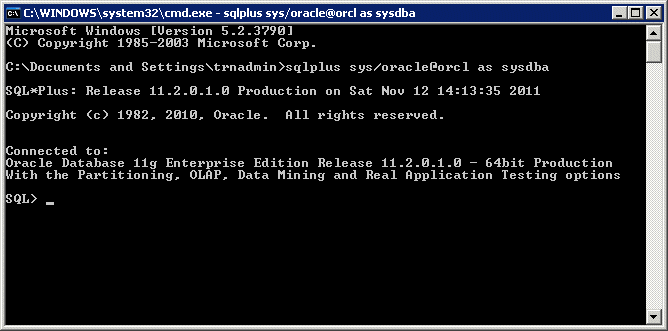 Note down the Oracle database release number displayed in the connection confirmation message; you will need this information when you import the database dump. |
| 4. | At the SQL prompt, create a directory object to import the database dump. For example:
create or replace directory datapumpdir as 'c:\datapump';
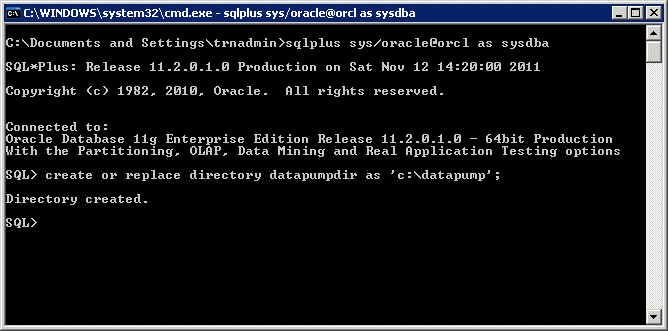 Note: Refer to the file path where you placed SASchemas.dmp. |
| 5. | Type Exit to exit SQLPLUS. At the Windows command prompt, use the impdp utility to import the BISAMPLE schema from the database dump file. For example:
impdp 'sys/oracle@orcl as sysdba' directory=datapumpdir dumpfile=SASchemas.dmp version=11.2.0.1.0 schemas=BISAMPLE LOGFILE=SASchemas_imp.log
Note: Replace the user and password in the example with a valid SYSDBA user. Replace the version in the example with the Oracle database release number specific to your installation.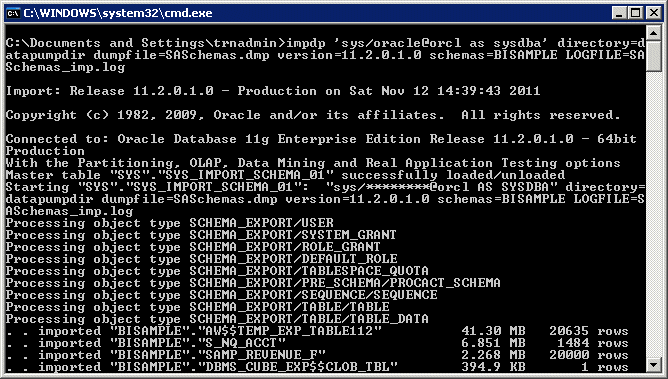 During the import process you might receive the following warning: ORA-39082: Object type VIEW:"BISAMPLE"."ODM_SAMP_CUSTOMERS_LTV" created with compilation warnings. This a known warning; you can safely ignore it. |
| 6. | Connect to SQLPlus again as a SYSDBA user and change the BISAMPLE schema password to BISAMPLE. For example: At the Windows prompt: sqlplus sys/oracle@orcl as sysdba At the SQL prompt: alter user BISAMPLE identified by BISAMPLE; 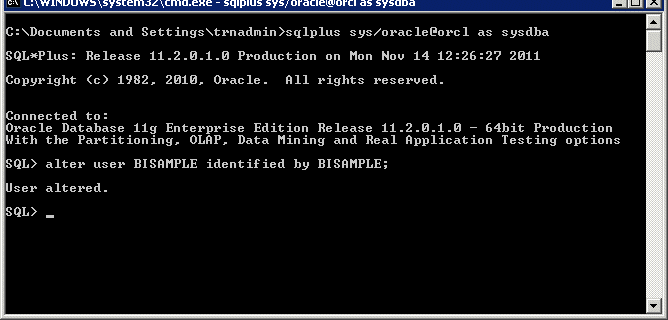 |
| 7. | Close the command window. |
Creating Oracle BI EE Metadata for Oracle OLAP
In this topic, you learn how to create a repository, import OLAP metadata into a repository, create business models and subject areas, and upload your repository to the Oracle BI server.
Creating a Repository and Importing Metadata to the Physical Layer
| 1. | Select Start > Programs > Oracle Business Intelligence > BI Administration. The Oracle BI Administration Tool window is displayed. |
|---|---|
| 2. | Select File, and then New Repository. The Create New Repository - Repository Information dialog box is displayed. |
| 3. | Provide the following information:
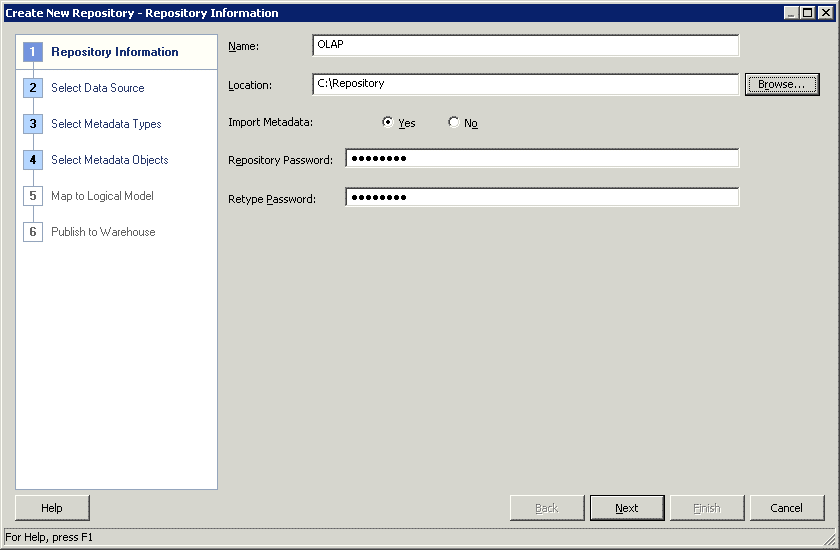 |
| 4. | Click Next to continue.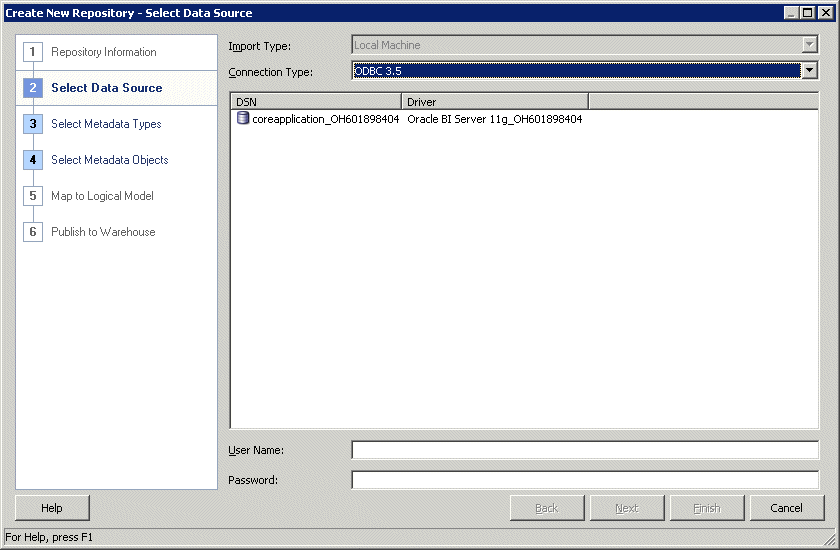 The Select Data Source step is displayed. |
| 5. | From the Connection Type drop-down list, select Oracle OLAP.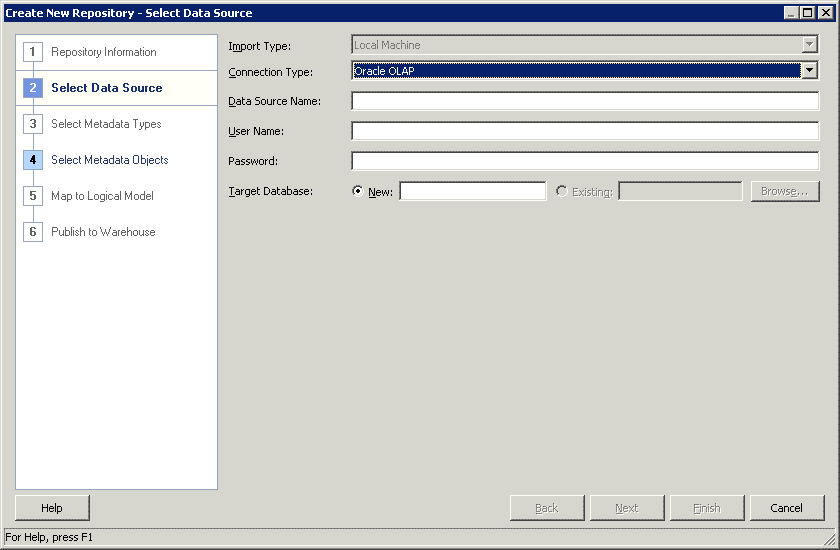 Oracle OLAP connection options are displayed. |
| 6. | Provide the following information:
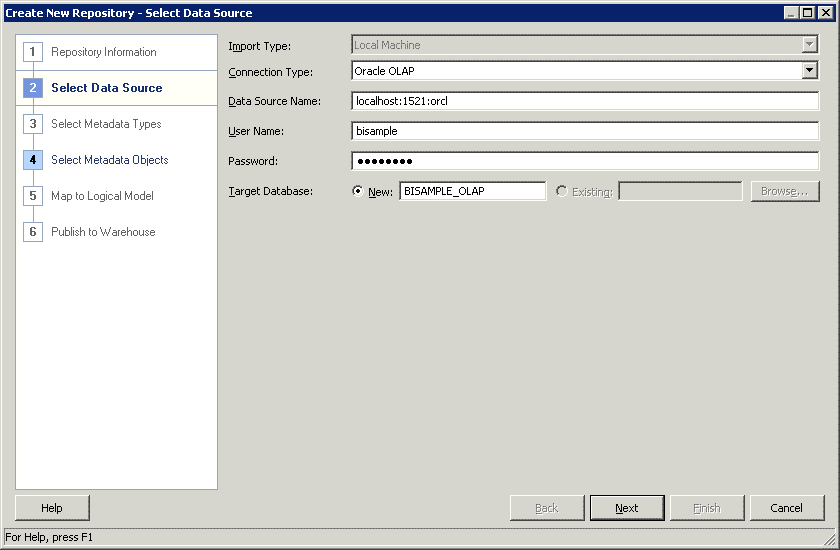 Click Next to continue to the Select Metadata Objects step. |
| 7. | In the "Data source view" pane, expand localhost:1521:orcl, and then BISAMPLE. Select OLAPSAMPLE and click Note: Your server connection string may differ from this example. 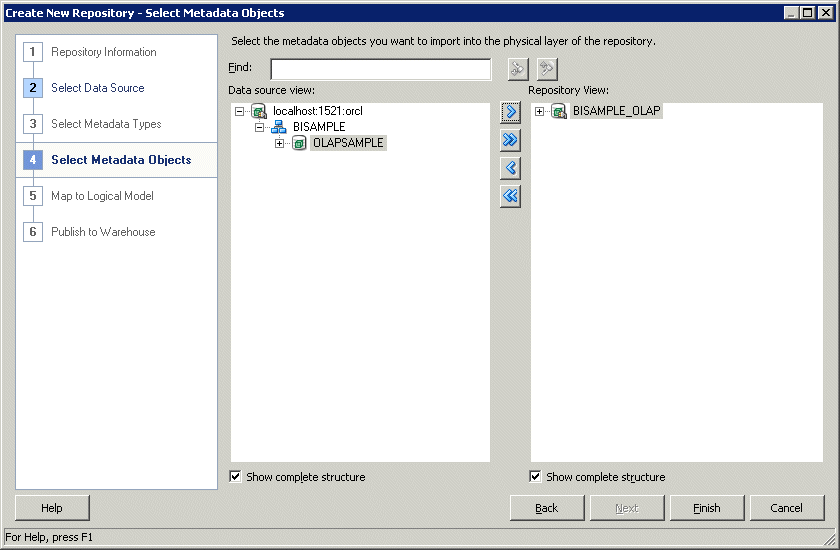 OLAPSAMPLE is added to the Repository View as BISAMPLE_OLAP. |
| 8. | Click Finish to view the repository in BI Administration Tool.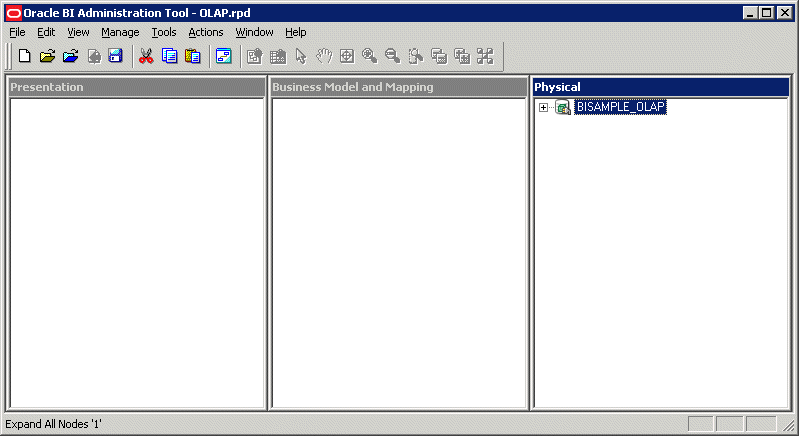 Imported metadata is displayed in the Physical layer. |
| 9. | In the Physical layer, expand BISAMPLE_OLAP, then BISAMPLE, and then OLAPSAMPLE to view the OLAP hierarchy views and cube views.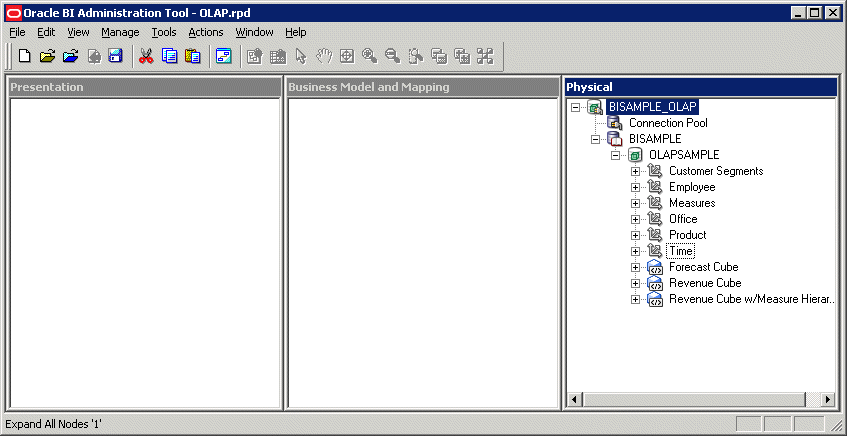 |
| 10. | In this step, you replace the import connection string with a valid data source name to facilitate data queries from the BI server. Under BISAMPLE_OLAP, double-click Connection Pool. The Connection Pool dialog box is displayed. |
| 11. | In the "Data source name" text box, enter a valid tnsnames.ora entry (for example, ORCL). Click OK to save your change. Note: The data source name must be identified in the tnsnames.ora file located in the client directory (in this example,C:\oracle\Middleware\Oracle_BI1\network\admin). |
Creating a Business Model and Subject Area
| 1. | Drag BISAMPLE from the Physical layer to the Business Model and Mapping layer.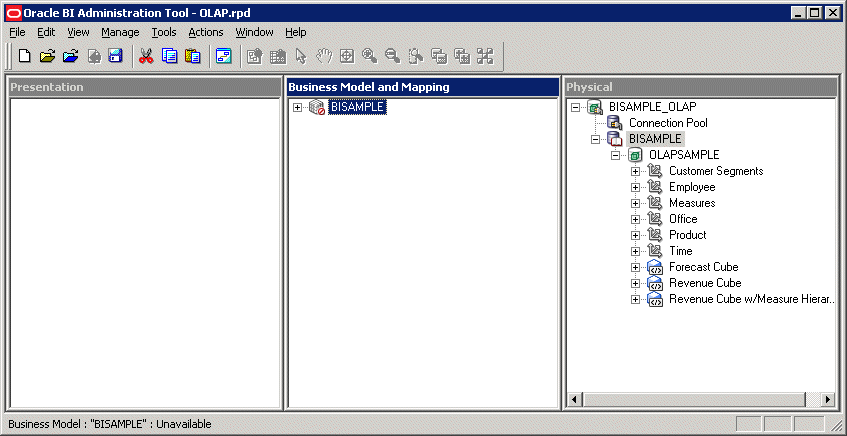 |
|---|---|
| 2. | Expand the BISAMPLE business model to view logical dimensions, logical tables, and logical table sources.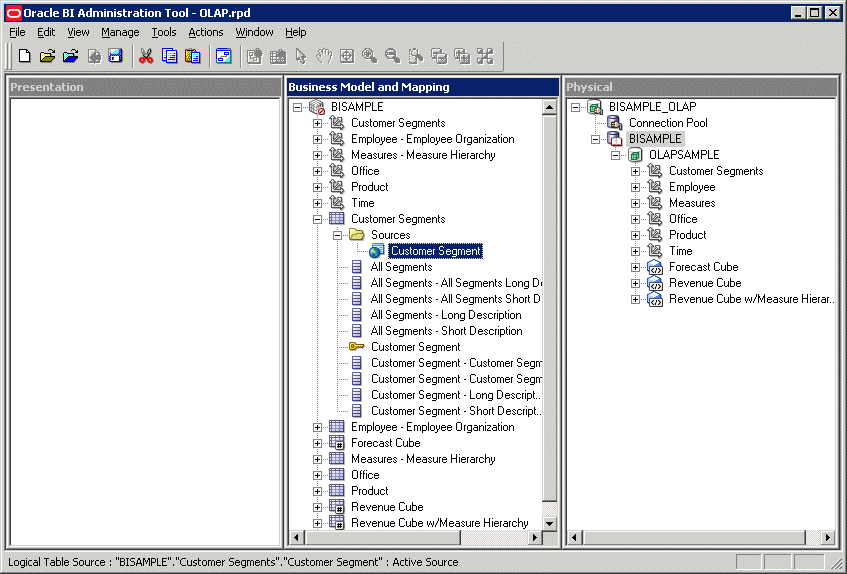 |
| 3. | In this section, you modify the names in the business model to facilitate ease-of-use when reporting. In the BISAMPLE business model, expand the Product logical table. Right-click the Brand - Short Description logical column and select Rename. Rename the column Brand Name.  |
| 4. | Expand the Time logical table and use the same process to rename the Fiscal Year logical column Year.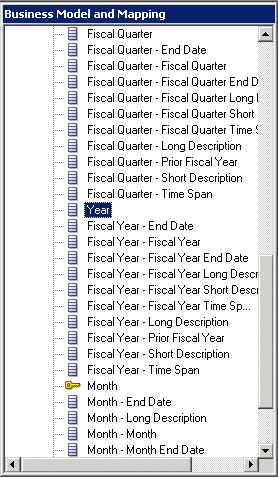 Note: For the purposes of this tutorial, you rename only the logical columns you will use in the final report. In a real-world scenario, you would customize the business model fully. |
| 5. | Drag BISAMPLE from the Business Model and Mapping Layer to the Presentation layer. |
| 6. | Expand the BISAMPLE subject area to view presentation tables and presentation columns.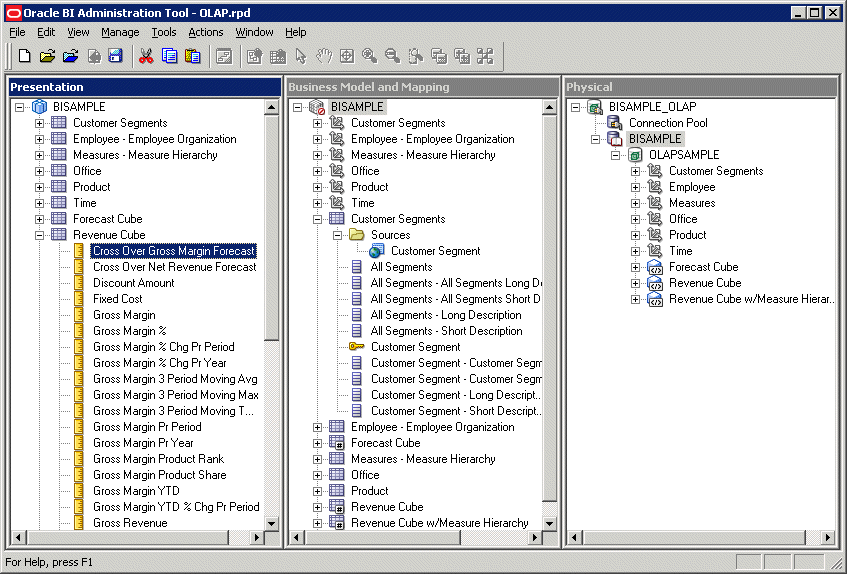 |
| 7. | Select File, and then Save. At the prompt, click Yes to check global consistency. |
| 8. | At the message that BISAMPLE is consistent, click Yes to mark it available for queries. Consistency Check Manager is displayed. |
| 9. | Verify that no errors are displayed in Consistency Check Manager, then click Close. Note: You may receive a warning that the features of your database do not match the defaults. You can disregard this warning.  |
| 10. | Select File, and then Close to close the repository. Leave BI Administration Tool open. |
Uploading the Repository to the BI Server
| 1. | Open the Enterprise Manager login screen (http://localhost:7001/em). Note: Your server name may vary from the example.  Enter an administrator user name and password, then click Login. |
|---|---|
| 2. | Under farm_bifoundation_domain, expand Business Intelligence, then select coreapplication. |
| 3. | Select the Deployment tab, then select the Repository subtab.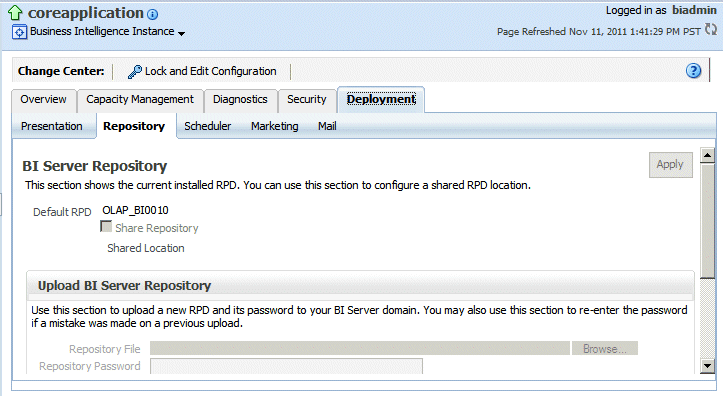 |
| 4. | Click Lock and Edit Configuration to enter edit mode. At the confirmation prompt, click Close.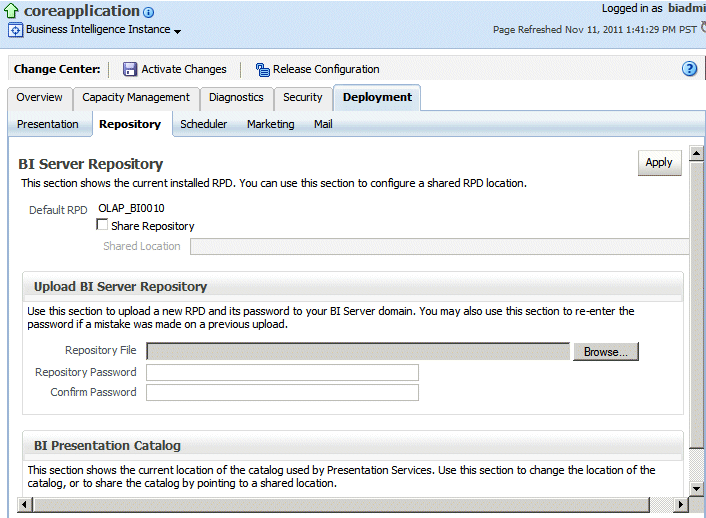 |
| 5. | Under Upload BI Server Repository, browse to select the OLAP.rpd repository. Enter and confirm the password Admin123.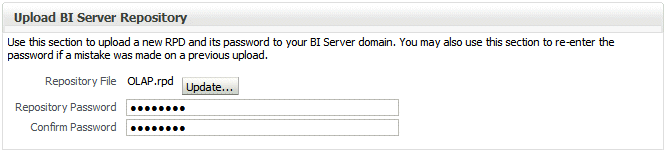 |
| 6. | Click Apply to update the default repository, then click Activate Changes to upload the repository to the BI Server. At the confirmation prompt, click Close. |
| 7. | You must now restart all the BI services to apply your changes. Select the Capacity Management tab and then the Availability subtab. |
| 8. | Click Restart All. At the confirmation prompt, click Yes. |
| 9. | At the confirmation prompt that services have started, click Close. |
| 10. | Log out of Enterprise Manager. |
Setting User Logging Levels
In this topic, you open the online repository in BI Administration Tool and set user logging levels so you can view the SQL query generated by the BI Server.
| 1. | In BI Administration Tool, select File, then Open, and then Online. The Open Online dialog box is displayed. |
|---|---|
| 2. | Enter the following information:
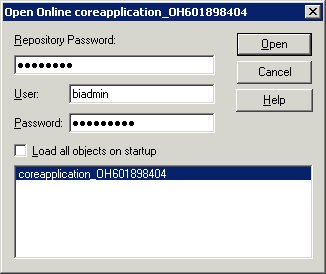 Click Open to continue. |
| 3. | Select Manage, and then Identity.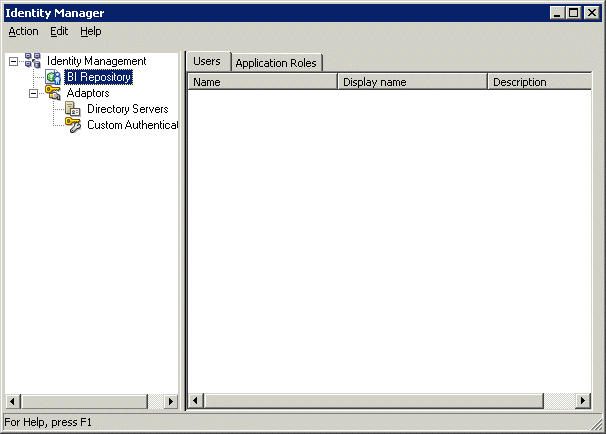 Identity Manager is displayed. |
| 4. | In Release 11.1.1.5, Identity Manager filters users from the LDAP server. By default, no users are retreived. To view users, you must set the online user filter. Select Action, and then Set Online User Filter. 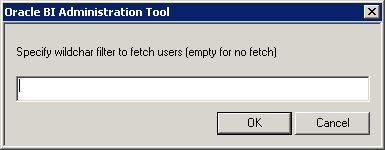 |
| 5. | In the text box, enter a wildcard that will retrieve an administrator-level WebLogic user (for example, bi*), then clickOK.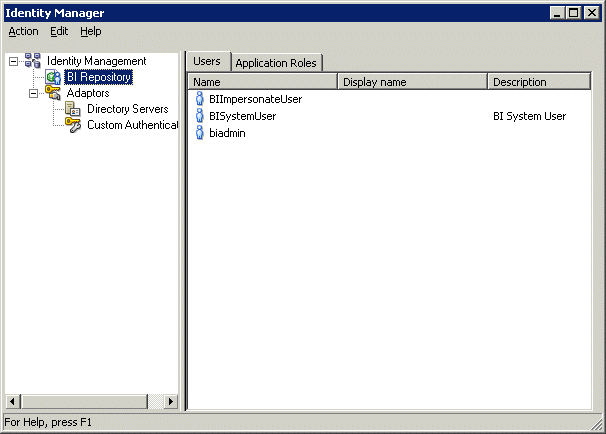 Users matching the wildcard are displayed in Identity Manager. |
| 6. | Double-click an administrator user (in this example, biadmin) to open the User dialog box. Set the query logging level to 3.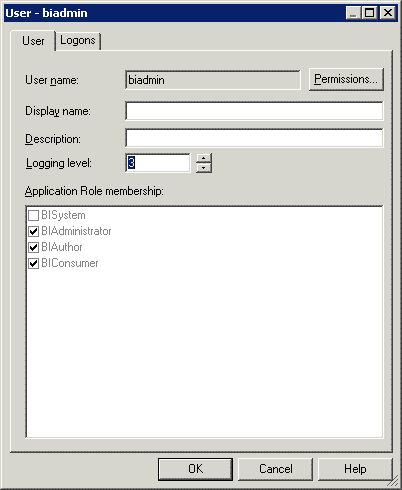 Click OK. At the Check Out Objects prompt, click Check Out. |
| 7. | Select Action, and then Close to return to the repository. |
| 8. | Select File, and then Check In Changes to check in your changes. |
| 9. | Select File, and then Save to save the online repository. |
| 10. | Close the repository and exit BI Administration Tool. |
Querying Oracle OLAP in Oracle BI EE
This topic shows you how to build queries, view the results, and examine the corresponding log files.
| 1. | Log in to Oracle Business Intelligence with the administrator user name and password for which you enabled query logging in an earlier topic.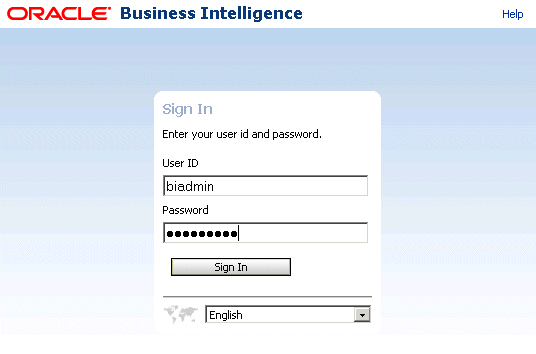 |
|---|---|
| 2. | Select New, and then Analysis.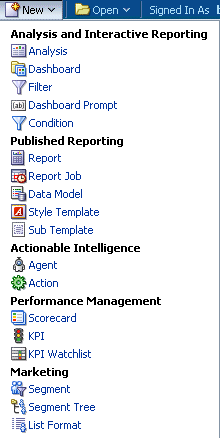 The Select Subject Area box is displayed. |
| 3. | Click BISAMPLE.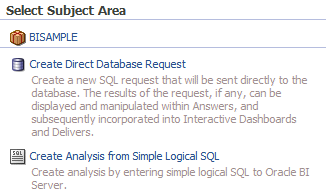 Analysis Editor is displayed |
| 4. | Create the following query: Time: Year, Product: Brand Name, Revenue Cube: Gross Margin.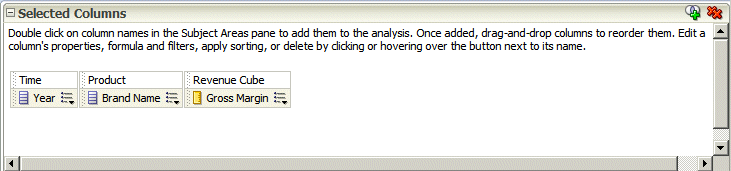 |
| 5. | Select the Results tab to display the analysis. Gross Margin for product brands is displayed for the years 2008, 2009, and 2010. Note: the Gross Margin values are automatically returned for the "All" level in the other three dimension, as follows: Customer = "All Customers"; Employees = "All Employees"; Office = "All Offices". The correct level of aggregation for these dimensions is returned because of the level-aware OLAP cube metadata that is part of the repository. |
| 6. | Click the Save Analysis( Click OK to save the analysis. |
| 7. | In the top right corner of the window, click Administration. Administration links are displayed. |
| 8. | Under Session Management, click Manage Sessions. |
| 9. | Under Cursor Cache, in the row for your query, click View Log. The query log is displayed. |
| 10. | Scroll down to view the SQL issued by the BI Server to the BISAMPLE_OLAP databse (entire query not shown). As you can see, the power and performance of the Oracle OLAP option is easily accessible to Oracle BI EE. Additionally, creating the appropriate metadata is quick and easy in Oracle BI Administration Tool. |
Summary
In this tutorial, you have learned how to:
- Create a metadata repository for Oracle BI EE
- Import Oracle OLAP metadata into an Oracle BI EE repository
- Create business models and subject areas in an Oracle BI EE repository
- Upload Oracle BI EE repositories to the Oracle BI server
- Query Oracle OLAP data in Oracle BI EE