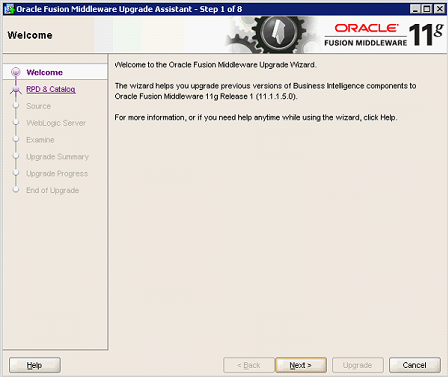
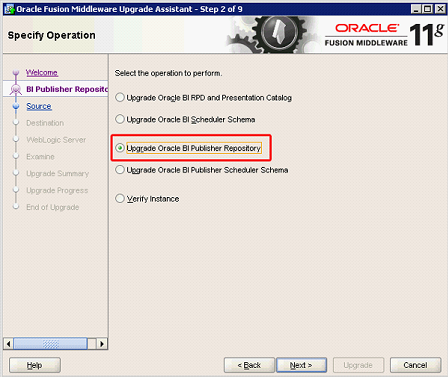
To begin the upgrade for BI Publisher, perform the following steps:
- We can find the 10G BI Publisher catalog location by logging into BI Publisher 10G and go to Admin –> Report Repository page.
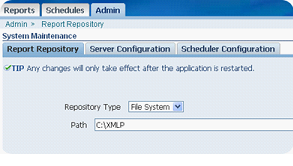

The path of the catalog is in <Drive>:\OracleBI\xmlp\XMLP. Take a backup of the XMLP folder and save it into the machine where OBIEE 11g is installed.


To verify that the reports are upgraded to 11g properly, perform the following steps:
| 1 . | Open a new browser window and in the address bar, enter http://<hostname>:7001/xmlpserver (for example, http://localhost:7001/xmlpserver). The Oracle BI Publisher Enterprise Login window appears. |
| 2 . | Enter the Username and Password , and click Sign In. |
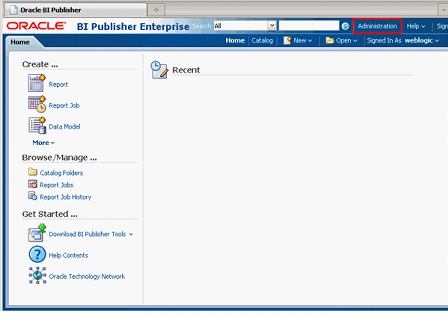
| 3 . | The Home Page appears. Click the Administration link.
BI Publisher 11g configuration Configuration.
 |
| 4 . | Within the System Maintenance section, click Server Configuration.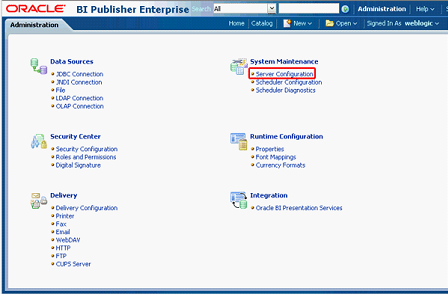 |
| 5 . | Click the Server Configuration tab. |
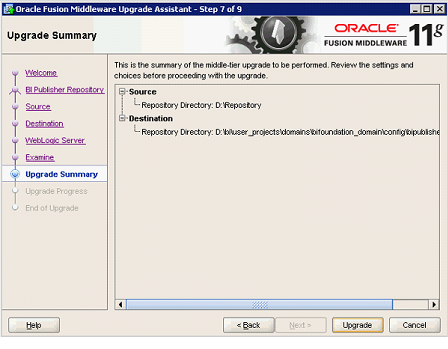
| 6 . | Enter the path for your upgraded repository into the Configuration Folder area. This is the path that you specified on the Destination Details page in the Upgrade Assistant (for example, %MIDDLEWARE_HOME%\user_projects\domains\bifoundation_domain\config\bipublisher\repository).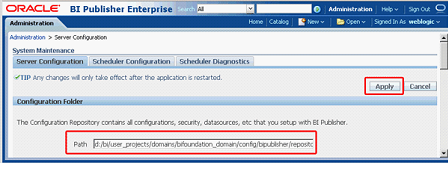
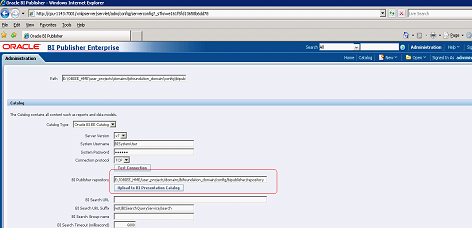
7. Click the Button Upload to BI Presentation catalog
 |
| 8 . | Click Apply. A confirmation message appears.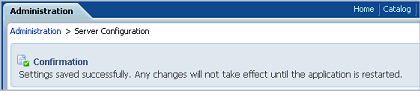 |
| 9 . | Log out, and then log back into BI Publisher to review your changes to the repository. |
| 10 . | Click the Catalog link on the global header. Expand Shared Folders > HR Manager > HR – User in the Folders pane. The ported reports appear in the right pane.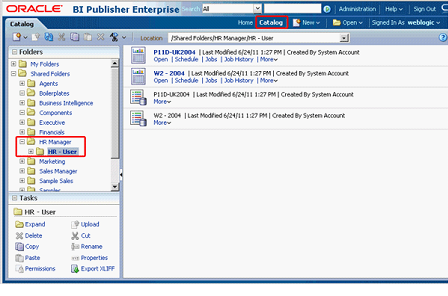 |
| 11 . | Select a specific report to view. Click Open for the Form P11D-UK2004 report.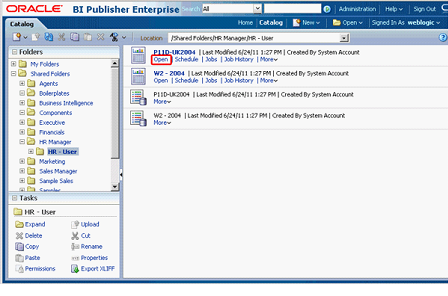
The report appears.

Thus we have verified that our reports have been successfully migrated. Close BI Publisher.
|